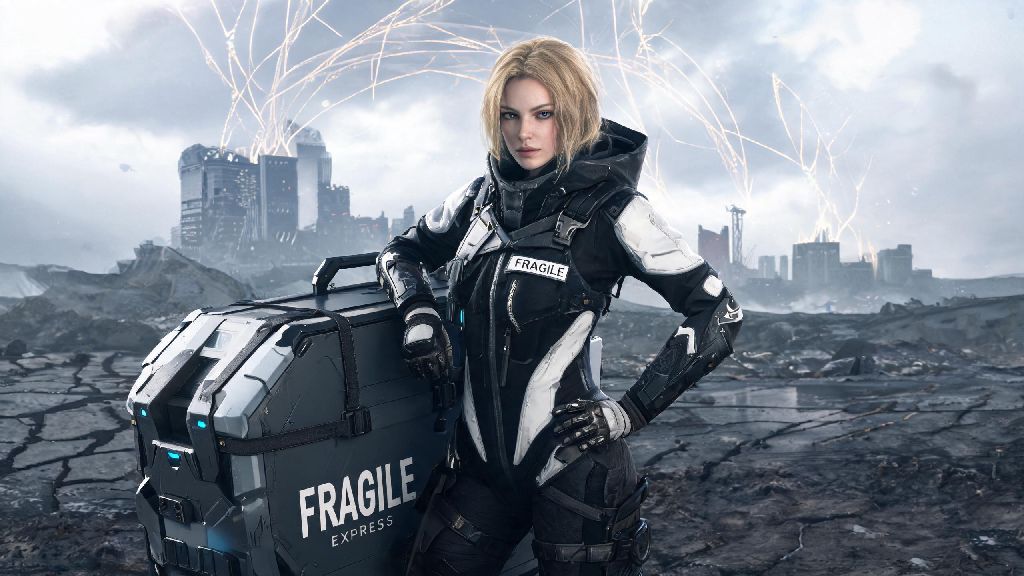
If you’ve already spent a few hours traipsing across the post-Death Stranding United States, you know half the battle of being a top porter isn’t just planning your route—it’s having the right gear to avoid disaster mid-trip. I’ve logged over 70 hours in the game so far, and I’ve wasted thousands of resin and chiral crystals on useless upgrades that look cool on paper but do nothing to help me get a time-sensitive pizza delivery across a mountain range in a thunderstorm. This guide breaks down the Death Stranding 2 best gear for every scenario, so you don’t have to make the same costly mistakes I did.
Early-Game Essential Gear to Avoid Frustrating First Deliveries
When you first start out, you’re working with limited materials, and every piece of resin or chiral crystal you waste on unnecessary gear sets you back from building shared structures or upgrading the tools that actually matter. The biggest pain points for new porters are unexpected slips, surprise BT encounters, and minor cargo damage from small falls that add up to lost delivery ratings. Stick to these low-cost, high-impact picks first, and you’ll save yourself hours of frustration.
- Reinforced Lv.1 Boot Braces: I can’t tell you how many times I tripped over small rocks and spilled half my cargo in my first 10 hours. These cut slip risk by 60% on wet or rocky terrain, and only cost 20 chiral crystals and 30 resin to craft.
- Portable BT Detector Lv.1: You don’t need the fancy upgraded version right away, but even the base model gives you a 10-second extra warning when BTs are nearby, enough time to find cover or get your hematic grenades ready.
- Small Cargo Shield Lv.1: It only covers 40% of your load, but it stops light rain damage and minor falls from breaking fragile medical cargo, which is a lifesaver for those early low-stakes but high-priority delivery orders.
You don’t need to upgrade any of these to Lv.2 until you hit the central region. The base versions are more than enough to get you through the first 15 hours of deliveries, and you can save the extra materials for building roads or contributing to shared structures for other players. I once missed a time-sensitive delivery of heart medication because I slipped on a patch of ice halfway up a mountain, and half the cargo broke. I crafted the boot braces immediately after that, and I haven’t had that problem since. I made the mistake of upgrading my boot braces to Lv.2 as soon as I unlocked it later on, and I ended up short on resin when I needed to build a bridge over a river that would have cut a 2-hour delivery down to 20 minutes. Don’t do that.
Death Stranding 2 Best Gear for BT and Hazard Zone Navigation
As you move into the central and western regions, BT zones get far more dangerous, with larger, more aggressive BTs and higher risk of voidouts if you get caught. If you often take delivery routes that cross high-risk BT zones, these are the pieces of Death Stranding 2 best gear you should prioritize crafting first. You can choose between gear that helps you fight BTs head-on or sneak past them undetected, depending on your playstyle.
Hematic Lure Launcher Lv.2 is a game-changer for players who don’t mind taking on BTs to clear a path. Most players stick to regular hematic grenades, but the lure launcher fires a device that draws all nearby BTs to a single spot, so you can take out an entire cluster with one well-placed grenade instead of wasting half your ammo on individual targets. It’s especially useful for crossing the tar belt in the central region, where BTs spawn every 100 meters or so. You’ll save a ton of hematic ammunition in the long run, which is worth the 100 chiral crystal crafting cost.
If you prefer to avoid BTs entirely instead of fighting them, the Chiral Cloak Lv.3 is non-negotiable. It makes you almost completely undetectable to BTs as long as you move slowly, and it lasts for 10 full minutes on a single charge. I’ve walked straight through a dense BT zone with a full load of fragile anti-BT weapon cargo without a single BT noticing me, which would have been impossible with the lower level cloaks. One thing to keep in mind: the cloak doesn’t work if you’re carrying any live volatile organic cargo. The scent seeps through the fabric, so you’ll still need to rely on your detector and quiet movement if you’re transporting that type of load.
Late-Game Upgrades That Cut Delivery Times in Half
Once you unlock the western region, the distances between distribution centers get far longer, and the terrain is far harsher, with steep mountains, constant ice patches, and frequent timefall storms. Gear that boosts your speed, stamina, and cargo capacity becomes far more valuable here, and the right upgrades can cut your total delivery time per order by 50% or more.
The Hover Pack Lv.2 is my personal favorite late-game gear pick. It lets you glide across shallow water, mud, and even ice without slowing down, and it cuts the amount of stamina you use climbing hills by 70%. I used to spend 45 minutes climbing the snow-covered mountain in the northwestern region; with the hover pack, I can get up the same path in 12 minutes, and I don’t have to stop every two minutes to catch my breath. It does use a small amount of chiral crystals per minute of use, but the time you save is more than worth the cost, especially if you’re chasing S-rank delivery ratings.
The Extended Cargo Frame Lv.3 is another must-have for bulk delivery orders. This frame lets you carry 50% more cargo without increasing your slip risk, as long as you balance the load correctly. I’ve used it to complete two large bulk delivery orders in one trip instead of making two separate runs, which saves hours of travel time across the map. Just make sure you don’t overload it with more than 120kg of cargo, or you’ll still have trouble walking uphill even with the frame’s support. I also always keep a portable weather station in my backpack for late-game trips, as it lets you check weather patterns for the next 2 hours across a 10km radius, so you can avoid timefall storms that would damage your cargo and force you to take shelter for 20 minutes or more.
Gear You Should Skip Wasting Materials On
Not every gear unlock is worth crafting, and some are just gimmicks that look cool but provide very little practical value for regular porters. Wasting rare materials on these picks will set you back from upgrading the gear that actually makes your trips easier, so it’s best to skip them entirely unless you’re just playing for fun and don’t care about delivery deadlines or ratings.
The Lv.4 power gloves are one of the biggest wastes of resources in the game. They let you lift heavy cargo with one hand, but they cost 300 chiral crystals and 500 resin to craft, and they only give you a 10% increase in carry capacity over the Lv.3 version. That’s a tiny gain for a huge material cost, and you’re better off spending those resources on upgrading your cargo frame or hover pack instead. The Lv.2 BT decoy is another waste of space. It’s supposed to draw BTs away from you, but it only works for 30 seconds, and it’s way less reliable than the hematic lure launcher. I tried using it once in a BT zone, and the BTs ignored the decoy completely and came straight for me. I haven’t touched one since.
Cosmetic gear like custom backpack patches and portable showers are fun to mess around with if you have extra materials, but they take up valuable cargo space that you could use for extra supplies or more delivery goods. Skip them entirely until you’ve fully upgraded all your core functional gear, or you’ll end up missing delivery deadlines because you used your last bit of resin on a silly backpack sticker instead of a cargo shield.
At the end of the day, the best gear is the one that fits your playstyle, whether you prefer to fight BTs head-on, sneak past them, or just get your deliveries done as fast as possible. You don’t need to unlock every piece of gear to be a top porter, just focus on the picks we covered here that match the type of deliveries you do most often. Next time you’re at a distribution center checking your crafting menu, keep these tips in mind so you can pick the Death Stranding 2 best gear for your next trip without wasting hard-earned materials on useless upgrades. Happy delivering!