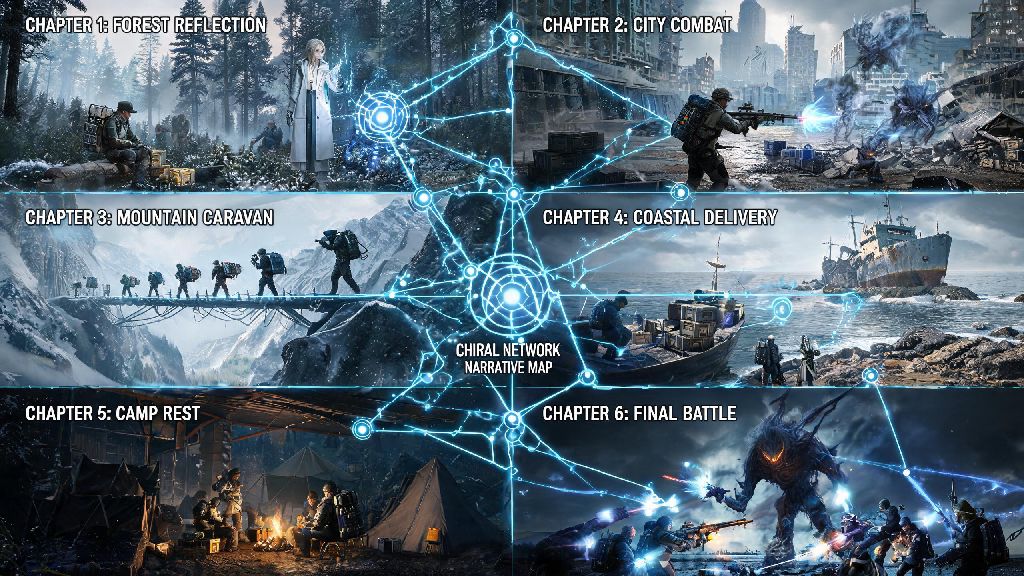
If you’ve spent dozens of hours delivering packages across the post-apocalyptic United States, dodging BTs and navigating timefall storms, you’re probably ready to face the last big hurdle standing between you and the game’s ending. The Death Stranding 2 final boss is no casual fight, and it throws every mechanic you’ve learned throughout the game at you all at once, so walking in unprepared will leave you replaying the same 20-minute section over and over. I spent three tries getting through it my first run, even threw my controller once when I got wiped right at the end of phase 2, so I get how frustrating it can be. I picked up a ton of small tricks that cut my fight time in half once I figured out what worked, and I’m breaking all of them down here.
What to Know About the Death Stranding 2 Final Boss Before You Start The Fight
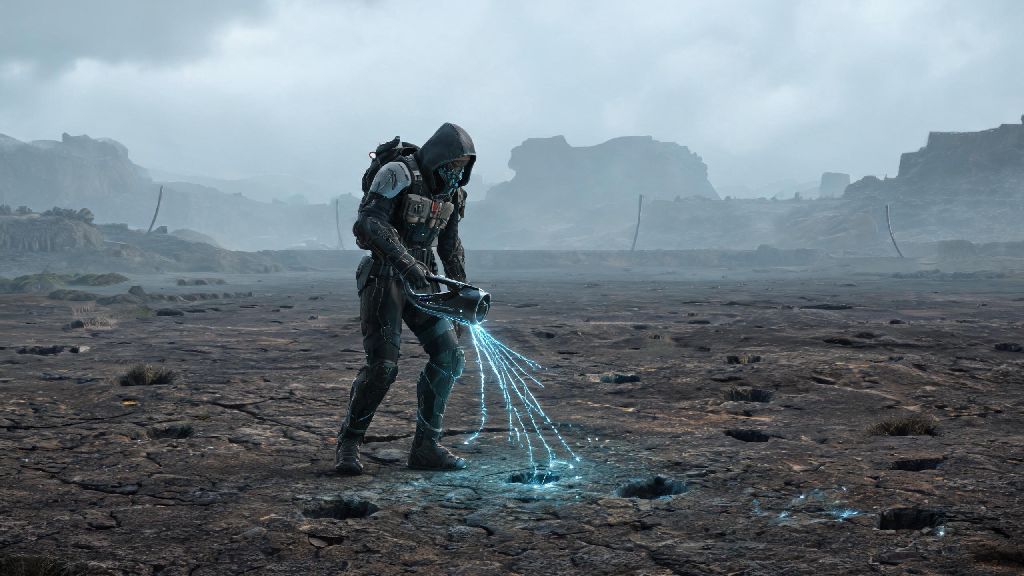
The final boss is a fused form of Higgs and a high-tier Extinction Entity, so it combines fast human-style combat with chaotic BT attacks you’re used to facing in chiral zones. The entire fight happens in a large, open arena surrounded by timefall, so any exposed cargo or unprotected gear will degrade faster than it does in regular open-world zones. You can’t fast travel or restock once you enter the final boss arena, so finish all your prep before you trigger the ending cutscene leading into the fight.
Unlike most boss fights in the game, this one doesn’t let you pause to swap out gear or rest mid-fight, so you’ll need to have all your items mapped to quick select slots before you start. The fight has three distinct phases, each with completely different mechanics, so you won’t be able to rely on a single strategy the whole time. The arena has three hidden supply caches tucked behind rock formations, so don’t forget to scan for them when you have a break between phases. They hold extra blood bags, hematic grenades, and repair spray that can save you if you run low on supplies halfway through.
Phase-by-Phase Breakdown of the Fight
Each phase of the fight has a clear win condition, and most players get stuck when they don’t adjust their approach when the boss transforms. I’ve split each phase into simple, actionable steps so you know exactly what to do at every point:
- Phase 1: Keep your distance at all times, and only move in to attack right after the boss finishes a charge attack
- Phase 2: Always stay on a raised platform, as standing in the chiralium flood will drain 10% of your health per second
- Phase 3: Don’t sprint across floating platforms, as they will tilt and throw you off if you move too fast
Phase 1 pits you against the boss’s humanoid Higgs form, which uses ranged energy blasts and quick melee swipes. It will also spawn small BTs every 90 seconds to distract you, so take those out first before you focus on the boss. The weak spot glows bright blue when it’s about to launch a big AOE attack, so that’s your best window to deal damage before you dodge out of the way. Use your bola gun to stun it for 3 seconds at a time, then hit its chest with hematic grenades to chip away at its health bar.
Phase 2 triggers when the boss’s health drops to 50%, and it transforms into a massive, tentacled BT form. The ground of the arena floods with toxic chiralium, so you’ll have to jump between raised concrete platforms to avoid taking continuous damage. Each platform has a mounted anti-BT rocket launcher, so use those instead of wasting your personal grenades to deal damage to the boss’s new weak spot on its head. You don’t need to waste any ammo in phase 3, so save all your healing items for the debris hits you can’t dodge. Phase 3 is not a combat sequence at all—you have to navigate floating chiral platforms to deliver a specialized neutralization package directly to the boss’s core. Just focus on dodging falling debris and moving slowly across platforms, and you’ll finish the fight once you place the package.
Best Gear to Bring to the Fight
You can get through the fight with basic gear, but bringing the right loadout will cut your fight time in half and reduce how many times you have to restart. I’ve tested dozens of loadouts, and this is the one that worked the best for me on all difficulty levels:
First, pack at least 20 hematic grenades. You’ll use most of them in phase 1 to take out the boss and small spawned BTs, and you’ll want a few extra in case you miss a few throws. Bring 8 minimum blood bags, as you’ll use them to power your grenades and heal any damage you take from timefall or boss attacks. Upgrade your bola gun to level 3 if you can—it stuns the boss twice as long as lower level versions, giving you more time to throw grenades at its weak spot.
Equip level 3 speed skates to make moving between platforms in phases 2 and 3 far faster, and wear level 3 chassis armor to reduce damage from ranged attacks. Leave all non-essential cargo in your private room before you head to the final arena, as you won’t need it and it will only get ruined by timefall. If you have the chiral shield unlocked, equip it as your primary tool—it blocks 70% of the boss’s ranged energy blasts, so you won’t have to dodge as often to avoid taking damage.
Common Mistakes That Make the Fight Way Harder
Most players don’t die because the fight is too hard—they die because they make small, avoidable mistakes that add up over time. I made almost all of these on my first run, so I know exactly what to warn you about.
The biggest mistake people make is spamming all their hematic grenades in phase 1 to finish it fast. If you use all 20 grenades in phase 1, you won’t have any left to take out the small BTs that spawn around the platforms in phase 2, and you’ll get swarmed before you can get to a rocket launcher. Only throw a grenade when you’re sure you’ll hit the weak spot, and don’t waste them on small BTs unless they’re actively attacking you.
Another common mistake is forgetting to scan for supply caches between phases. The caches hold enough extra supplies to get you through the entire fight if you run low, but most players rush through the cutscene between phases and don’t take 10 seconds to scan the area. If you’re running low on blood bags after phase 1, the caches almost always have 2 or 3 extra you can pick up before phase 2 starts.
Lots of players also try to attack the boss in phase 3, which does zero damage and wastes ammo and healing items. The game doesn’t explicitly tell you phase 3 is a delivery sequence, so it’s easy to assume you have to keep shooting. As soon as you see the floating platforms spawn, put your weapons away and focus entirely on navigating to the core.
At the end of the day, the Death Stranding 2 final boss is less about raw combat skill and more about using all the mechanics you’ve learned throughout the game to your advantage. If you prep the right gear, follow the phase breakdowns, and avoid the common mistakes most players make, you’ll get through it on your first or second try without too much frustration. Once you beat it, you’ll unlock the post-game content, including new delivery routes and multiplayer events that let you collaborate with other players across the chiral network. Take your time, don’t rush, and you’ll cross that finish line before you know it.