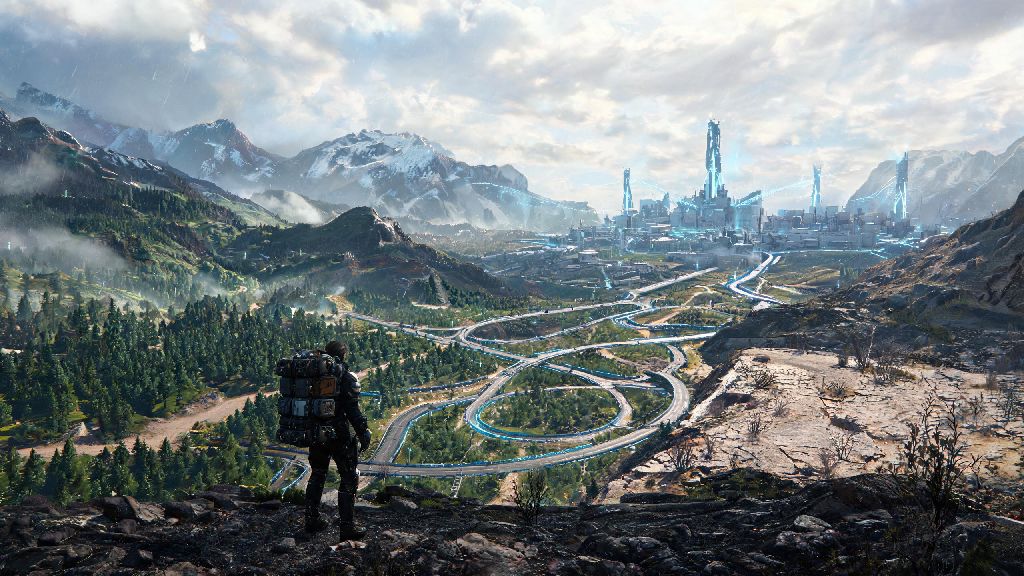
If you've ever had to abandon a fully loaded truck mid-route because you stumbled into a swarm of BTs you didn't see coming, or watched your fragile ceramic cargo shatter after hitting a pothole on an unmarked dirt road, you know how critical good navigation is in Death Stranding 2. Unlike the first game's relatively compact map, the sequel's open world is almost three times larger, with more varied terrain, more dynamic hazards, and a sprawling network of paved and unpaved highways that connect every major prepper shelter and Knot City. That's why the Death Stranding 2 highway map is the single most useful tool in your porter kit, and learning to use all its hidden features will cut your average delivery time in half, if not more. I've spent the last three months testing every corner of the map, running both main story deliveries and random side jobs, so this guide covers all the tips, tricks, and hidden features you won't find in the game's basic tutorial.
What the Death Stranding 2 Highway Map Doesn’t Show You At First Glance
Most players only use the Death Stranding 2 highway map to find the fastest path from point A to point B, but it holds a ton of hidden data that can make your runs far safer and more efficient. The default map view only shows fully paved main highways, so you'll miss a lot of useful paths if you never toggle the additional overlay options. You can also toggle a layer that shows other player-built structures along the highway, which is one of the most useful hidden features of the Death Stranding 2 highway map.
Dotted grey lines on the edge of marked highways are actually repaired secondary roads that other players have contributed to, so you don't have to waste materials building roads yourself there. These side paths usually connect to smaller prepper shelters and timefall outposts that are off the main highway route, so they're perfect for short side deliveries you don't want to detour too far for. Highway segments marked in light orange are currently under repair, and you can donate chiral materials to speed up the process for everyone on your server. If you contribute enough, you'll get a permanent discount on supplies at rest stops along that stretch, so it's almost always worth dropping off a few extra materials if you have them to spare.
You'll also notice small blue icons next to some highway stretches if you zoom in far enough. These mark nearby rest stops with cargo repair stations and battery chargers for your truck or bike, so you can plan stops around them if you're carrying fragile cargo or driving an electric vehicle with limited range.
How to Plan Zero-Hazard Delivery Routes Using the Highway Map
The worst thing that can happen mid-delivery is running into a BT zone or a heavy timefall storm when you're carrying fragile high-value cargo, and the highway map lets you toggle overlays to avoid all that. One of the most underrated features of the Death Stranding 2 highway map is its ability to save custom routes for frequent deliveries, so you don't have to re-plan the same path every time you take a job between two regions.
Always turn on the BT zone overlay before you lock in a route—most major highways are built outside high-risk BT areas, but some stretches that cross mountain passes have temporary BT incursions that pop up after heavy timefall. These incursions only last for a few in-game hours, but the map updates in real time to show their location, so you can detour around them easily if you check first. If you're carrying cargo that's sensitive to timefall, toggle the weather forecast overlay too, so you can pick a highway route that stays in clear weather for the full duration of your trip.
Planning a safe route only takes a few simple steps if you know what to prioritize:
If you're using a truck for long-haul deliveries, prioritize highway routes that have charging stations every 80km or less, because you don't want to run out of battery in the middle of a BT zone with no way to escape. Most main highway corridors have charging stations at regular intervals, but some remote secondary routes don't, so it's always worth checking before you leave.
Unlocking Hidden Highway Segments and Fast Travel Points
A lot of new players don't realize that a big chunk of the highway network is locked until you complete specific side missions for local preppers. The map will show these locked segments as faded grey lines, so you know they exist even if you can't use them yet. If you're having trouble finding the locked highway segments, you can filter the Death Stranding 2 highway map to only show unopened paths, which will highlight all the segments you still need to unlock.
The most useful hidden highway segment is the mountain pass that connects the northern coastal region to the central farmlands—unlocking it cuts travel time between those two zones by almost 70%, so it's worth doing the associated delivery mission as soon as you reach level 15. The mission only requires you to deliver a small shipment of building supplies to the prepper who manages the pass repair project, so it's a low-effort job with a huge payoff for all your future deliveries.
Every completed highway segment has a hidden fast travel terminal at either end—you just have to walk up to it and sync it with your chiral network to unlock it for future use. You don't have to unlock fast travel points for every segment, but if you're running a lot of deliveries between two regions, it's a huge time saver. I usually unlock fast travel points for every major highway junction as I go, and it cuts my total playtime spent traveling by almost 40%.
You also get perks for contributing to highway repair projects. If you donate more than 50% of the materials needed to repair a highway segment, you'll get a permanent 20% discount on any supplies you buy from rest stops along that stretch, plus extra likes from other players who use the road you helped build. It's a great way to level up your porter rank faster without having to take extra delivery jobs.
Common Highway Map Mistakes New Players Make (And How to Avoid Them)
Even if you're familiar with the map system from the first game, the sequel has a few changes that trip up even experienced players. The first and most common mistake is forgetting to refresh the map before you leave a shelter. The map updates in real time with player contributions and new hazard data, so if you loaded your route yesterday, there might be a newly repaired stretch of highway that cuts 15 minutes off your trip, or a new BT zone that popped up overnight. All you have to do is open the map and hit the refresh button, and it'll update with all the latest data for your server.
Another common mistake is ignoring the elevation markers on highway segments. A lot of the mountain highways have steep slopes that are impossible to traverse with a fully loaded truck, even if they're fully paved. The map will show steep slopes as red segments when you toggle the elevation overlay, so you can switch to a bike or a smaller load for those stretches, or take a longer, flatter route if you're carrying too much cargo to make the climb. I learned this the hard way when I tried to take a fully loaded truck up a steep mountain highway, got stuck halfway, and had to make three separate trips to carry all my cargo to the top.
Another common mistake is relying solely on the default zoom level of the Death Stranding 2 highway map, which doesn't show small hazards like loose rocks or temporary road closures from recent timefall storms. Always double check that your selected route doesn't cross any unmarked rivers or landslide zones—the default map view sometimes hides these hazards, so switching to the terrain overlay for 10 seconds before you leave will save you a ton of headache. You should also get in the habit of zooming in on any parts of your route that look narrow or winding, to make sure there are no unexpected obstacles you'll have to navigate around.
Finally, don't forget to share your route data with other players. If you plot a particularly efficient highway route that avoids hazards, you can upload it to the chiral network, and other players will be able to use it, and you'll get likes that level up your porter rank faster. It's a small thing, but it fits perfectly with the game's core theme of players working together to make the world a little easier for everyone.
At the end of the day, the Death Stranding 2 highway map is more than just a navigation tool—it's a way to connect with other players, cut down on unnecessary travel time, and make even the longest high-risk deliveries feel manageable. I still find new hidden side paths and unmarked rest stops every time I boot up the game, so don't be afraid to zoom in on unmarked areas of the map and explore when you have a light cargo load. Even small detours can unlock huge perks that make every future run easier. Taking the time to learn all the features of the Death Stranding 2 highway map will make your entire playthrough far more enjoyable, and you'll waste far less time stuck in bad situations you could have easily avoided.