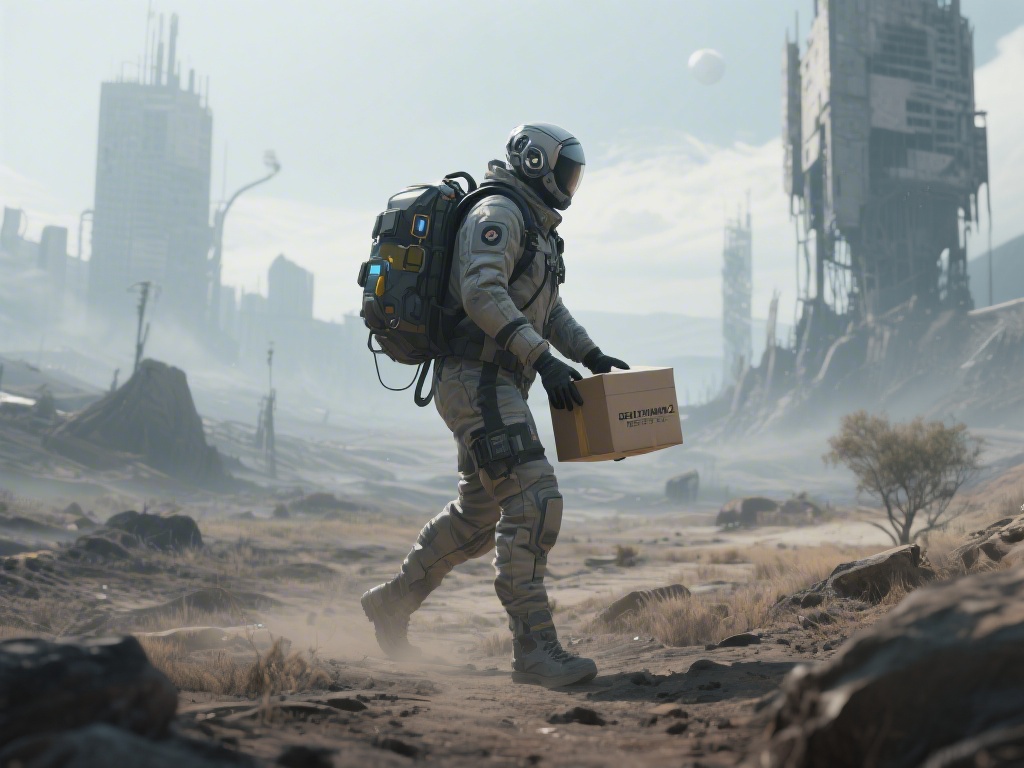
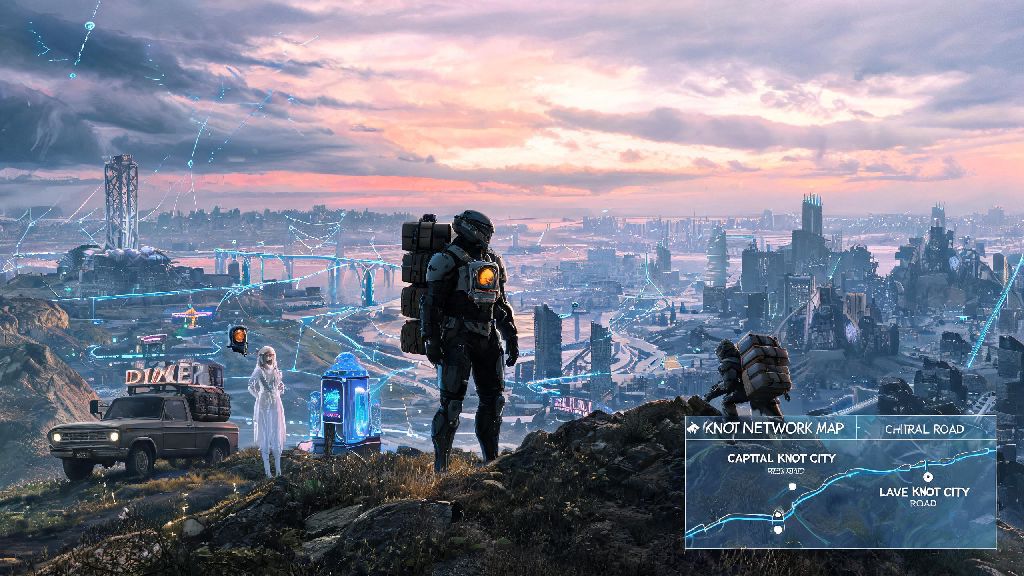
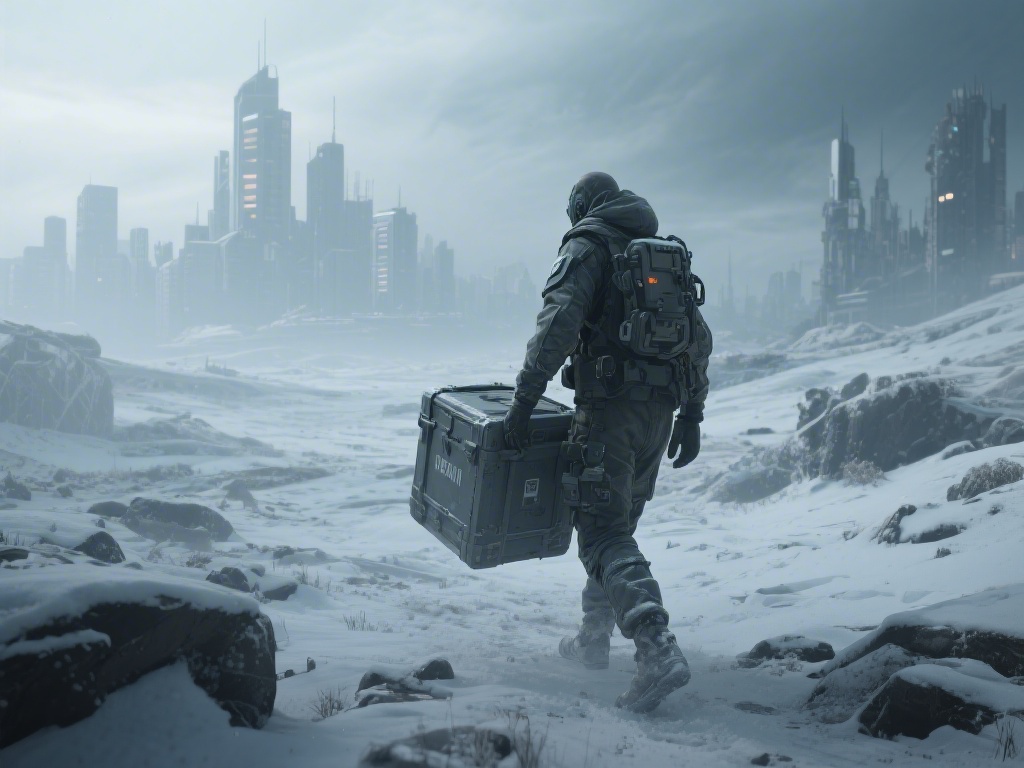
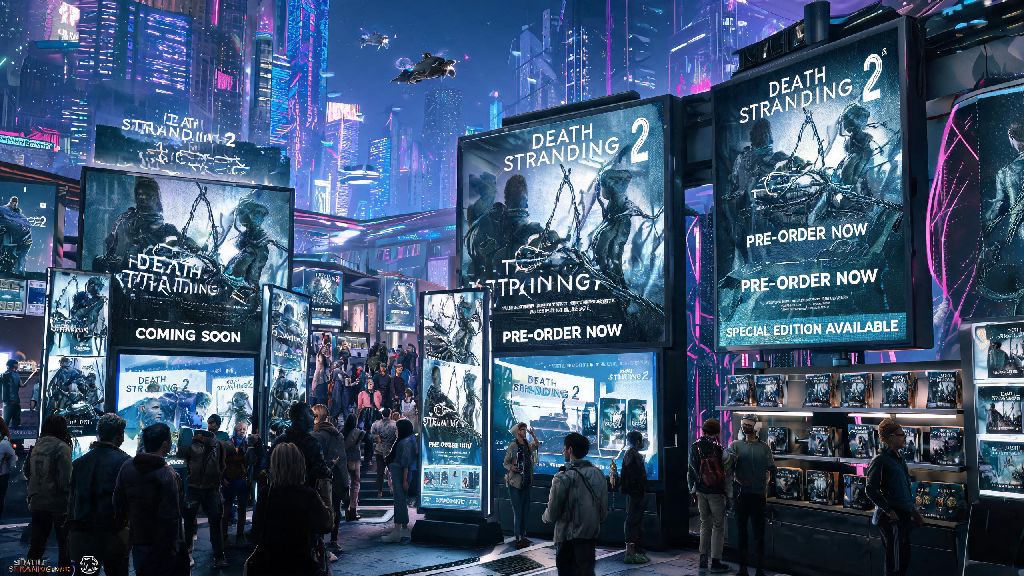
If you played the first Death Stranding, you know the game’s heart lies in its seemingly simple but deeply layered mission system. You’re not just carrying boxes from point A to point B; you’re rebuilding connections between isolated communities, navigating unpredictable terrain and BT threats, and contributing to a shared world with thousands of other players. Death Stranding 2 missions build on that foundation with new twists, challenges, and rewards that feel familiar enough for returning fans but fresh enough to keep even veteran porters on their toes. Whether you’re just starting your first run or you’re already 20 hours in and struggling with high-difficulty deliveries, this guide breaks down everything you need to know to get the most out of every quest you take on.
Core Types of Death Stranding 2 Missions You’ll Encounter First
Right after you finish the opening prologue, you’ll get access to four core mission types that make up the majority of the game’s content. Each has its own rules, rewards, and best practices, so it’s worth knowing what you’re signing up for before you accept a quest from the distribution center terminal. You can filter missions by type on the terminal interface to avoid picking up something that doesn’t fit your playstyle or current gear loadout.
- Priority delivery missions: High-reward, time or condition-sensitive runs that advance the main story. These often carry strict requirements, like zero cargo damage or delivery within a 30-minute in-game window, but they unlock new areas, gear, and story cutscenes you can’t get anywhere else.
- Side support missions: Smaller runs for local settlements that unlock new gear and NPC loyalty bonuses. These are usually lower-stakes, and even if you mess up a delivery you won’t derail the main story. They’re perfect for grinding experience and resources when you need to upgrade your gear before a tough story mission.
- Multiplayer sync missions: Collaborative tasks where you and other players work to restore large infrastructure like power grids or highway segments. Every contribution counts, even if you only drop off a small portion of the required supplies, and the finished structure benefits every player on the server.
- BT suppression missions: New combat-focused runs where you clear BT infestations to make routes safer for all players. These are the only missions that reward you with anti-BT weapon blueprints, so they’re worth doing even if you usually avoid combat in favor of stealth.
Standard delivery missions are the lowest-stakes option, and they’re great for new players who are still learning the map and movement mechanics. They don’t have time limits or strict damage requirements, so you can take your time exploring, testing out new gear, and leaving helpful structures for other players along your route. Time-sensitive priority missions are where the real challenge starts, and you’ll want to make sure you have fully upgraded exoskeleton and storage gear before you take on more than one of these at a time.
Pro Tips to Complete Difficult Missions Without Damaging Cargo
Even if you mastered the first game’s delivery mechanics, DS2’s new terrain, weather effects, and weight rules can trip you up if you’re not prepared. I lost three high-priority medical delivery runs in my first 10 hours of play because I didn’t adjust my strategy to fit the new systems, so these tips come from a lot of frustrating trial and error.
Always scan your full route before leaving a distribution center. The new terrain scanner lets you zoom out to your entire planned path, and it highlights hidden BT zones, unstable cliff edges, flooded roads, and even other players’ abandoned structures you can repurpose for your run. I used to skip this step and just follow the default GPS line, until I ended up stuck in a surprise BT swarm halfway up a mountain with no anti-BT gear. Taking 30 seconds to scan your route can save you 30 minutes of backtracking later.
When you’re packing your cargo, prioritize shock-absorbent padding over extra gear. It’s tempting to pack three extra batteries, four repair sprays, and a full set of weapons for every run, but extra weight makes you slower, more likely to slip, and more prone to damaging cargo when you fall. For most runs, you only need one extra battery, one repair spray, and a single anti-BT grenade, unless you’re specifically taking on a BT suppression mission. If you have extra space, pack a portable ladder or climbing anchor, because those can help you take shortcut routes that cut your travel time in half.
Don’t be afraid to use other players’ structures, but don’t rely on them completely. It’s always a nice surprise when you find a fully upgraded bridge or rest stop right where you need it, but structures can disappear if the player who built them deletes their save or stops playing the game. Always have a backup route planned in case the player-made road you were counting on is gone when you get there.
Hidden Rewards You Can Unlock From Optional Death Stranding 2 Missions
A lot of new players skip optional side missions because they think they’re just filler content that doesn’t add anything to the game. That’s a huge mistake. Optional missions unlock some of the most useful gear, customization options, and lore content in the entire game, and many of them take less than 10 minutes to complete if you already have a route planned to the area.
For example, completing all the side missions for the mountain base engineer unlocks a custom hoverboard that cuts travel time across snow zones by 60% and doesn’t drain your exoskeleton battery. I unlocked this after 15 hours of play, and it completely changed how I approached mountain deliveries, cutting my run time in half and making it way easier to avoid slipping on ice and damaging cargo. You also unlock unique backpack customization items, like reflective patches that make you visible to other players in heavy storm conditions, so they’re more likely to leave you useful items like extra repair sprays or anti-BT ammo near their structures.
If you complete 10 or more multiplayer sync missions, you get a permanent 10% bonus to all mission rewards, which adds up really fast when you’re grinding for higher-tier gear blueprints. You also get access to exclusive multiplayer-only missions where you and up to three other porters can work together to deliver massive cargo loads that are too big for a single player to carry. These missions reward you with rare crafting materials that you can’t find anywhere else in the game.
Some side missions also unlock hidden cutscenes that fill in gaps in the main plot, like what happened to Fragile between the first and second game, or how the new BT variants evolved after the events of the first game. If you’re a fan of the series’ lore, these cutscenes are well worth the extra effort of completing the optional missions that unlock them.
Common Mistakes to Avoid When Taking On New Missions
After 40 hours of play, I’ve made almost every mistake you can make when accepting and completing missions, and most of them were completely avoidable if I’d paid attention to small details or planned ahead. These are the most common mistakes I see new porters make all the time, and avoiding them will save you a lot of frustration and wasted time.
Don’t ignore the new cargo weight distribution mechanic. The first game had basic weight balance rules, but DS2 is way more strict: if you pack all your heavy cargo on one side of your backpack, you’ll slip on wet or icy terrain three times more often, and you’re way more likely to twist your ankle if you fall. A twisted ankle slows you down by 50% for 10 in-game minutes, or until you use a medical kit, which can make you miss time-sensitive delivery deadlines. Always distribute heavy cargo evenly between your back, shoulder, and hip storage slots to keep your balance stable.
Don’t accept more than two high-priority missions at once. I tried to stack three time-sensitive medical deliveries once, and ended up missing all three deadlines because a sudden acid rain storm blocked my main route, and I didn’t have enough time to take the long way around. It’s better to complete one high-priority mission at a time, even if it means you have to make more trips back to the distribution center. You’ll get more rewards in the long run because you won’t be losing out on bonus payments for missed deadlines or damaged cargo.
Don’t forget to read the fine print on mission descriptions. Some missions have hidden rules, like no vehicle use, no interaction with other players’ structures, or no use of stealth against BTs. If you break these rules, you get zero reward for the mission even if you deliver the cargo perfectly. I learned this the hard way when I used a player-made bridge on a mission that prohibited outside structures, and I ended up wasting an hour of run time for no reward. Take 10 seconds to read the full mission description before you accept it, so you don’t end up making the same mistake.
At the end of the day, Death Stranding 2 missions are designed to feel rewarding whether you’re completing a 10-minute side delivery or a three-hour cross-country story run. You don’t have to be perfect to have fun, but taking a little extra time to plan your route, pack the right gear, and avoid common mistakes will make every run feel less frustrating and more satisfying. Don’t be afraid to take on harder missions as you unlock better gear, and don’t skip the optional side content – some of the best parts of the game are hidden in those small, seemingly unimportant delivery runs. If you take your time and focus on building connections rather than just checking off quest boxes, you’ll get way more out of your time with the game.