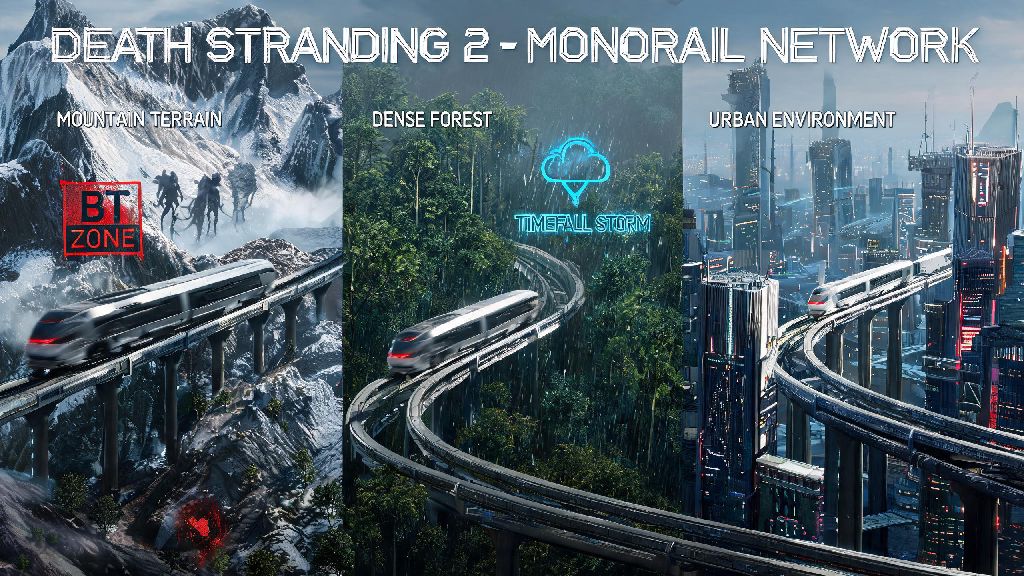
If you’ve spent even a few hours hauling cargo across Death Stranding 2’s expanded map, you know how brutal long-distance traversal can get. BT zones, timefall storms, and uneven terrain can turn a simple 30-minute delivery into a three-hour slog full of damaged goods and frustrating detours. Traversal is easily the most time-consuming part of any Death Stranding playthrough, and that’s why the death stranding 2 monorail map is one of the sequel’s most game-changing quality of life additions, if you know how to use it correctly. I’ve put 40+ hours into testing every monorail line and unlock condition, so this guide will skip the vague lore dumps and give you actionable tips to cut your delivery times in half.
What the Death Stranding 2 Monorail Map Actually Includes (And What It Doesn’t)
First, let’s clear up a common misconception a lot of players have when they first unlock the monorail tab on their chiral interface. The default map you get after connecting the first regional knot city only shows active, publicly available monorail lines that other players have already synced to the chiral network. It won’t show hidden prepper-operated stops, damaged track segments, or low-weight limit lines unless you manually sync those locations yourself. If you zoom in on the death stranding 2 monorail map, you’ll see small icons next to each stop that indicate if they have storage, repair stations, or timefall shelter access.
You can only access the full monorail map once you connect the southern regional knot city to the chiral network, which happens about 15 hours into the main story if you stick to critical path deliveries. But that doesn’t mean you can’t start unlocking smaller local lines earlier to make side deliveries easier. The map also overlays real-time timefall and BT zone data when you’re connected to the network, but that data refreshes every 10 in-game minutes, so don’t rely on it to plan a route if a storm is rolling in. You’ll also notice small gray dots on the map that don’t have labels—those are unactivated monorail pylons that you can unlock to extend your network. You can also filter the death stranding 2 monorail map to only show lines that support heavy cargo, which saves you time when you’re planning large deliveries.
How to Unlock All Hidden Stops on the Death Stranding 2 Monorail Map
Unlocking hidden stops isn’t as simple as walking up to a pylon and scanning it, like a lot of players assume. Each hidden stop is tied to a local prepper or small settlement, and you have to earn their trust before they’ll let you connect their line to the global network. I wasted three hours early on driving around to every gray pylon I could find, only to get a “no access” error every time I tried to activate it. The process is actually pretty straightforward once you know the steps:
Once you complete these steps, the stop will show up on your map for all future play sessions, and other players on your server will also be able to use it. Hidden monorail stops cut cross-country delivery times by up to 70% for medium-weight loads, so it’s worth taking 10 minutes to unlock any you pass on your regular delivery routes. You’ll also get a small chiral bandwidth bonus for every stop you connect, which lets you build more structures out in the field. Once you unlock a stop, it will stay on your death stranding 2 monorail map permanently, even if you start a new game plus playthrough.
Best Routes to Prioritize First for Faster Deliveries
You don’t have to unlock every single monorail line right away to get a ton of value out of the system. I recommend focusing on three core routes first, since they cover the most high-traffic delivery areas and avoid the most dangerous parts of the map. The first route to unlock is the West Coast to Mountain Knot City line. It skips the entire central valley BT infestation that’s almost impossible to cross with heavy cargo without attracting attention. You can haul 200kg of supplies from the coastal prepper colonies to the mountain research outpost in 12 minutes flat using this line, compared to almost two hours by truck.
The second route to prioritize is the Central Knot City to Southern Coastal Settlement line. This route cuts through the timefall-prone southern desert, which usually ruins cargo even if you have full weather protection. Monorail cars are fully sealed against timefall, so your goods will stay in perfect condition no matter how bad the storm gets. Prioritize routes that connect high-volume prepper outposts first to maximize your chiral bandwidth gains. The third route to unlock is the Eastern Region to Northern Badlands line, which lets you skip the icy mountain passes that constantly cause trucks to slide off the road. Even if you only use this line once a week for rare northern deliveries, it’ll save you hours of frustration over the course of your playthrough. You can save custom route presets on your death stranding 2 monorail map for regular delivery runs, so you don’t have to select each stop manually every time.
Common Monorail Map Mistakes to Avoid
Even after you’ve unlocked all the main lines, there are a few easy mistakes that can derail your delivery plans if you’re not paying attention. The first mistake I see a lot of players make is ignoring the red damage markers on the map segments. If a line is marked red, it means part of the track is damaged by timefall or blocked by BTs, and the monorail car will stop halfway through the route. You’ll have to get out and repair the track or clear the BTs to keep going, which defeats the purpose of using the monorail for fast travel. Always check the weight limit tag on each map segment before loading up a high-value heavy delivery. A lot of the older, prepper-owned lines only support loads under 50kg, so you’ll get an error if you try to bring a 150kg cargo load on them.
Another common mistake is forgetting to refresh your map after a major timefall storm. Storms can damage previously working tracks, so a route that worked yesterday might be blocked today. Track damage resets every 72 in-game hours, so you don't have to repair the same section more than once every few play sessions. The last mistake is assuming all monorail stops have cargo storage. Most hidden stops only have a small drop-off point, so you can’t leave extra cargo there for later deliveries unless you build your own storage container next to the platform. If you’re playing multiplayer, you can also see stops that other players have unlocked on your death stranding 2 monorail map, as long as you’re connected to the chiral network.
At the end of the day, the death stranding 2 monorail map is a tool that’s meant to make your life as a porter easier, not add more busywork to your plate. You don’t have to 100% every stop and line to get value out of it—even unlocking two or three core routes early on will cut down on so much of the tedious traversal that turns some players off the series. I still get a kick out of loading up a big delivery, hopping on the monorail, and watching BT zones and timefall storms pass by under me without having to worry about my cargo getting damaged. If you take the tips from this guide and apply them on your next play session, you’ll be able to spend less time fighting the terrain and more time enjoying the story and weird, wonderful world of Death Stranding 2.