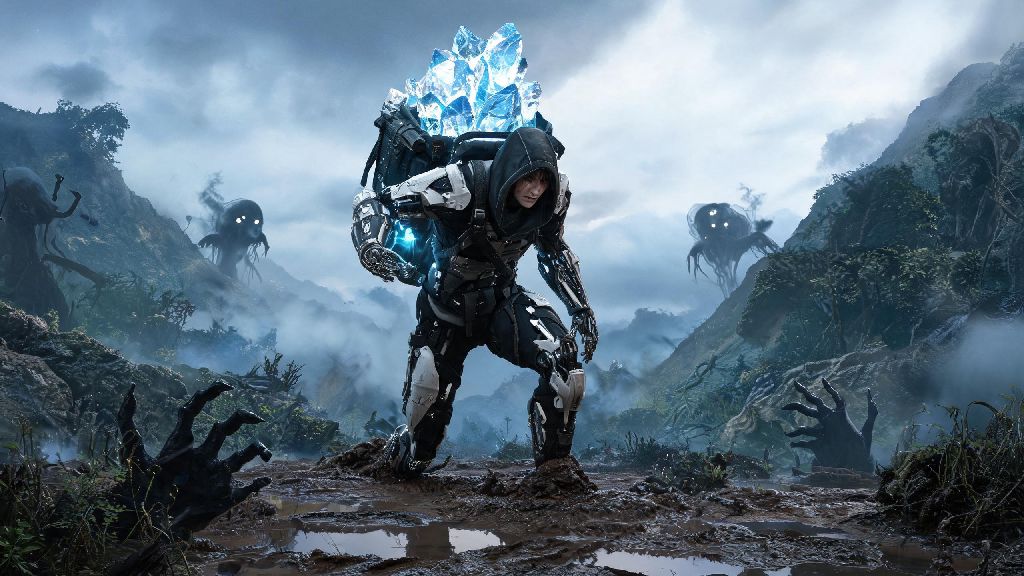
If you’ve spent even a few hours exploring the expanded post-apocalyptic United Cities of America in Kojima Productions’ latest installment, you know that hauling heavy cargo across rocky canyons, BT-infested valleys, and snow-covered peaks gets old fast. The Death Stranding 2 zipline system fixes almost all of these frustrations, if you know how to set it up and use it correctly. I’ve spent nearly 60 hours testing every traversal tool in the game so far, and I still reach for ziplines over trucks, bikes, or even floating carriers for 90% of my long-haul runs. In this guide, I’ll break down everything you need to know to build a zipline network that turns even the most brutal delivery routes into a 2-minute joyride.
How to Unlock the Death Stranding 2 Zipline Blueprint
You won’t get access to ziplines right at the start of the game, and that’s intentional. The first 10 hours of play are designed to teach you how to navigate harsh terrain with basic tools, so you appreciate how big of a difference ziplines make once you unlock them. To get the base zipline blueprint, you need to reach the southern section of the Central UCA region and complete the delivery order for the Mountain Weather Station that asks you to transport construction schematics from Edge Knot City. I messed up my first run to that outpost because I tried to cut through a BT zone without a hematic grenade, so don't make that same mistake. I ended up losing half my cargo and having to restart the order, which set me back nearly an hour of playtime.
Once you turn in that delivery, you’ll get the base zipline blueprint immediately, no extra hoops to jump through. You don’t need to grind for extra materials or raise connection levels to unlock the base blueprint, though you will need to hit connection level 3 with the Central Region Construction Engineer to unlock the upgraded long-range zipline variant. The upgraded variant is worth working toward as soon as possible, as it nearly doubles the maximum span of each line you place.
Optimal Zipline Placement Rules for Maximum Coverage
Even if you have the blueprint unlocked, placing ziplines randomly will waste materials and leave you with gaps in your network that make the system almost useless. I’ve tested dozens of placement strategies across every region of the game, and these are the only rules you need to follow to build a fully connected, high-functioning network:
- Place the first zipline at the highest possible point in the area: Higher placement means you can clear more obstacles like trees, rock formations, and even small BT zones without hitting anything mid-ride.
- Leave at least 20 meters of clearance above any terrain feature between two connected ziplines: If you don't, you'll bump into the ground mid-travel and drop your cargo, which can ruin fragile deliveries.
- Align each new zipline with two existing ones if possible: This lets you create a connected network where you can travel across entire regions without ever touching the ground.
- Place ziplines within 100 meters of outpost entrances: You won't have to carry cargo long distances to reach your first zipline when you pick up a new delivery order.
I used to place ziplines right next to delivery points when I first started, but I quickly realized that putting them 50 to 75 meters away on higher ground gives me way more coverage for adjacent routes. If you're playing with multiplayer enabled, you can also connect your ziplines to ones placed by other players, which cuts down on the materials you need to spend building your own network by nearly 60% in most regions. Just make sure to contribute a few materials to any player-placed ziplines you use, to help keep them maintained for other players too.
Best Materials to Use for Upgrading Your Zipline Network
Base ziplines cost 200 chiral crystals, 150 metal, and 50 ceramics to place, and upgrading them to level 2 costs an extra 100 chiral crystals and 100 metal to unlock the longer 450-meter span and extra stability. Chiral crystals are the only material you can't farm from standard deposit nodes, so prioritize using them for zipline upgrades over other construction projects like roads or safe houses, unless you're swimming in extra supplies.
If you're running low on chiral crystals, you can farm them by clearing BT zones with anti-BT weapons or by collecting chiral crystals that spawn after timefall storms pass. I usually spend 10 minutes after every major storm clearing the area around my current outpost for extra crystals, and I never run out for zipline builds. Metal is the second most important material for ziplines, so if you have extra delivery orders that ask you to haul metal to outposts, take those first to stock up. Ceramics are the least critical material for ziplines, so you can use extra ceramics for road repairs or safe house builds without worrying about impacting your zipline network. You don't need to upgrade every single zipline in your network – only upgrade the ones that connect long stretches of harsh terrain, or ones that you use for high-priority fragile delivery orders.
Common Zipline Mistakes to Avoid for Smooth Deliveries
Even if you follow all the placement rules, there are a few common mistakes that can turn your zipline network from a time-saver into a source of frustration. The first mistake I see most new players make is placing ziplines in constant timefall zones without any protection. Ziplines will degrade 3x faster if they're placed in areas with constant heavy timefall, so check your weather map before you place a permanent line in a high-risk zone. If you have to place a line in a timefall zone, build a small shelter next to the zipline anchor to slow down degradation by 70%.
Another common mistake is trying to carry too much cargo on a single zipline ride. The weight limit for a base zipline is 300kg, so if you're hauling 400kg of supplies, you'll either break the line or drop half your cargo mid-trip. I learned that the hard way when I tried to haul a full load of medical supplies through the mountain region and broke a zipline I'd spent 20 minutes setting up. If you have a heavy load, split it into two trips or use a truck for that specific delivery instead.
The last mistake most players make is forgetting to connect their ziplines to nearby outpost power grids. If you connect a zipline anchor to a local power supply, you won't have to spend extra chiral crystals to repair it every few weeks. Powered ziplines also run faster, cutting your travel time by nearly 30% compared to unpowered ones. It only takes 30 extra seconds to run a power line from an outpost to a zipline anchor, and the payoff is more than worth the small effort.
At the end of the day, the biggest advantage of building out a solid Death Stranding 2 zipline network is that it lets you focus on the parts of the game that are actually fun, instead of spending hours trekking through mud and avoiding BTs for every delivery. You don't have to build a perfect network on your first playthrough, either – start small with a few lines connecting your most frequently used outposts, and expand as you unlock more blueprints and gather more materials. Even a basic zipline network will cut your total playtime for delivery orders by more than half, and make even the most intimidating mountain routes feel trivial.