If you’ve ever spent 20 minutes carefully stacking a full load of fragile medical cargo only to lose half of it to a surprise BT ambush, you know how important picking the right tools for the job is. Death Stranding 2 expands the original’s combat and stealth systems dramatically, so sorting through the Death Stranding 2 best weapons for your specific run can save you hours of frustrating restarts and lost delivery progress. I’ve put 60+ hours into the full game, tested every weapon across every terrain and enemy type, and cut out all the fluff to bring you only the most useful picks for every playstyle.
How We Selected the Death Stranding 2 Best Weapons for This List
I didn’t rank these weapons purely by damage output, because that’s almost irrelevant for most Death Stranding 2 playthroughs. Your top priority is almost always getting your cargo to its destination in one piece, so every pick on this list was tested against four core criteria: weight, ammo accessibility, risk of cargo damage during use, and effectiveness against the enemy type it’s designed for. I also skipped all endgame exclusive weapons that require 100+ hours of progression to unlock, so every pick here is accessible for players who are still working through the main story.
You won’t find any fancy, one-use secret weapons here either. All of these picks are craftable at standard distribution centers, or available as rewards for standard side deliveries. That means you don’t have to grind special events or complete hidden quests to get access to them.
Top Weapons for BT Encounters
BTs are still the most common threat you’ll face on cross-country runs, especially during timefall storms. The wrong weapon here can leave you dragged into tar, or cause enough shockwave damage to break even well-protected cargo. My top picks balance stopping power with low risk to your packages.
The Anti-BT Grenade Launcher Mk. III is my go-to for medium to large BT encounters when I’m carrying sturdy cargo. It locks on to BT cores automatically, so you don’t have to aim perfectly to land a hit, and one round takes down most medium BTs instantly. It does have some downsides though: it’s fairly heavy, so you’ll only want to carry it if you know you’re heading through a high-risk BT zone, and its ammo costs chiral crystals that you might want to save for other crafting projects.
For close-quarters BT encounters, nothing beats the Chiral Knife. It doesn’t require traditional ammo, only a small charge of chiral energy that recharges slowly as you walk, and a single well-timed stab to a BT’s core will take it down instantly. It’s also completely silent, so you won’t draw more BTs to your location when you use it. The only catch is you have to get within a few feet of the BT to use it, which is risky if you’re carrying oversized cargo that blocks your view.
I learned that last tip the hard way. On a recent run through the northern mountain tar belt, I only brought a grenade launcher, and when a small BT grabbed my ankle from a puddle I didn’t see, I fumbled for 10 seconds trying to pull it out before I got dragged under. I lost three high-priority organ delivery packages that run, and I’ve carried a backup knife ever since.
Best Weapons for Fending Off MULEs and Terrorists
Human enemies are far more predictable than BTs, but they can still ruin your run if you’re unprepared. MULEs only want to steal your cargo, so non-lethal weapons are almost always the better choice here, while terrorists will shoot to kill, so you can afford to use lethal options if you need to.
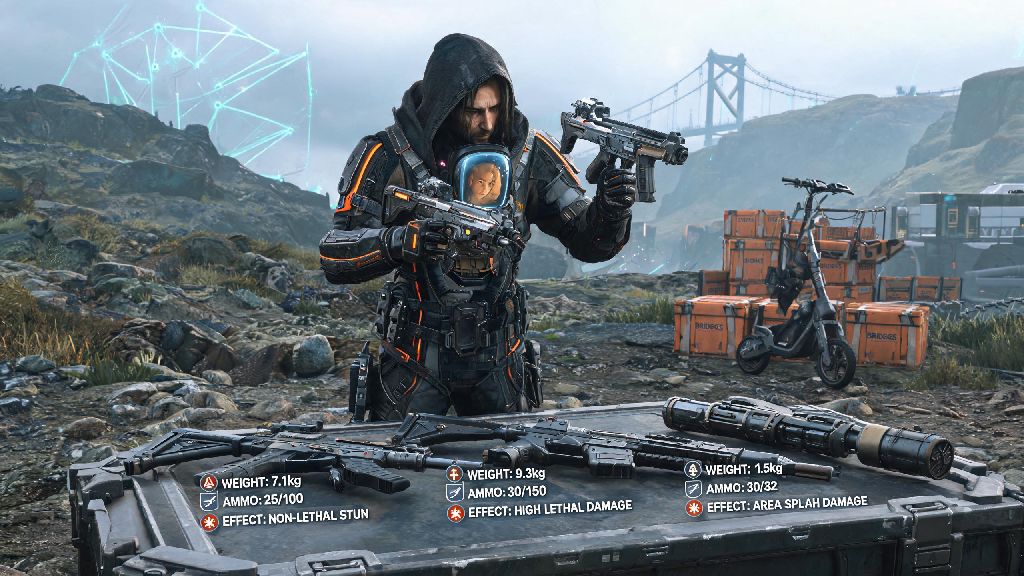
The Non-Lethal Stun Rifle is the best all-around pick for MULE encounters. It’s light enough to carry on every run without weighing you down, its ammo is crafted from common metal and resin that you’ll find scattered everywhere, and a single headshot knocks a MULE out for 10 full minutes. It has a slow fire rate, so if you get ambushed by four or more MULEs at once, you might get swarmed, but pairing it with a smoke grenade will give you enough time to take them all down one by one.
For players who prefer close-quarters combat, the Shock Baton is a great option. It runs on a rechargeable battery that lasts for 20 hits, so you never have to worry about running out of ammo, and two hits to the torso will knock out any MULE. You can also use it to disable MULE cargo scanners from a short distance, so they won’t even know you’re carrying high-value cargo if you sneak up on them first. Just be careful not to swing it near your cargo, as a mis-hit can damage your own packages.
A lot of new players make the mistake of bringing lethal weapons for MULE encounters, but killing MULEs actually increases the number of BT spawns in the area for your next visit, so it’s almost never worth it. Save the lethal assault rifles for terrorist zones only, where there’s no downside to taking enemies out permanently.
Utility Weapons Worth Adding to Every Loadout
Most players sleep on utility weapons, but they’re easily the most cost-effective and low-risk option for 90% of delivery runs. These aren’t designed to take enemies out directly, but they let you avoid combat entirely or protect your cargo when you have to fight.
The Cargo Protection Shield Launcher is a game-changer for runs with fragile, high-value cargo. It shoots a small, temporary shield that wraps around your entire cargo stack, and it blocks 100% of damage from BT tar blasts, MULE stun rounds, and even small falls. The shield only lasts 90 seconds, so it’s for emergency use only, but it’s saved my cargo more times than I can count during surprise ambushes. It’s also extremely light, so you can carry one on every run without noticing the extra weight.
Even more useful is the Chiral Lure. This small throwable device emits a chiral signal that draws all nearby BTs or MULEs to its location for two full minutes. You can throw it away from your path, then sneak past the entire group without firing a single shot. It only costs 20 common chiral crystals to craft, so it’s far cheaper than wasting ammo on fights you don’t need to have. I carry three of these on every long run, and I rarely have to fight any enemies at all anymore.
You don’t need to carry a full arsenal of these utility weapons, but even one of each will make your runs far less stressful. I usually keep one shield launcher and two lures in my backpack side pockets for easy access, and I only pull out my combat weapons if the lure doesn’t work for some reason.
You don’t need to carry every weapon on this list for every run, obviously. The Death Stranding 2 best weapons are the ones that fit your specific route and cargo load. If you’re heading through a dense BT zone with fragile cargo, pack the anti-BT grenade launcher and a backup chiral knife. If you’re crossing MULE territory with low-priority building materials, a stun rifle and chiral lure will be more than enough. Don’t overpack either, because every extra pound adds to your stamina drain and makes it harder to climb steep hills or cross rivers. Test out a few of these picks on your next short delivery run to see what works best for your playstyle, and you’ll be losing far less cargo to ambushes in no time.