If you’ve made it to the central mountain region in your Death Stranding 2 playthrough, you’ve almost certainly run into the roadblock that is the death stranding 2 chemical mine. I first stumbled on it while hauling a full load of emergency medical supplies for the remote Mountain Knot City outpost, and I lost the entire shipment after wandering into a toxic gas burst I didn’t see coming. It took me three failed runs and a lot of wasted chiral crystals to figure out the best way to get through the area without losing cargo or wasting hours backtracking. This guide breaks down everything I learned from those runs, so you can cross the mine quickly, safely, and even pick up rare hidden rewards along the way.
Key Things to Know Before Entering the Death Stranding 2 Chemical Mine
First, let’s cover the basics of what you’re walking into. The chemical mine is a former pre-apocalypse mineral extraction site that was flooded with toxic waste during the Death Stranding event, and it’s required for the main story quest to retrieve the old Bridges data core hidden in its deepest chamber. You can also pick up three separate side quests related to the mine, including a request from the timefall farmers to retrieve lost seed samples that are resistant to timefall damage. Skipping the mine isn’t an option if you want to progress the main story, so it’s worth taking the time to prep properly before you head in.
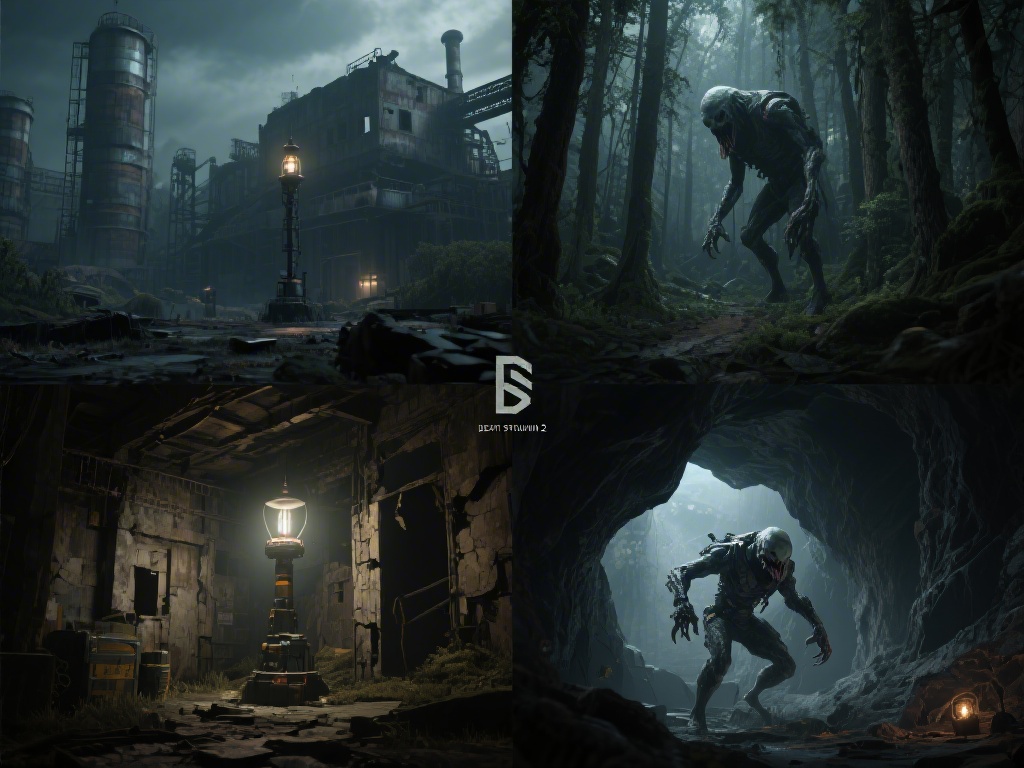
The three biggest hazards you’ll face inside are constant low-level toxic exposure, nearly invisible tripwires that trigger concentrated gas bursts, and BTs that lurk in the low-oxygen tunnels where your BB’s sensor range is cut by 70%. You don’t want to show up with just your standard porter gear, or you’ll end up back at the last distribution center before you make it 100m into the entrance. Before you leave the nearest outpost, make sure you have these three non-negotiable items:
- Fully upgraded oxygen mask with at least 3 spare filter canisters (standard filters only last 12 minutes in the highest toxicity zones, so extra filters will save you from having to turn back mid-run)
- Level 2 anti-toxic suit liner – don't waste your time with level 1, it degrades 60% faster in this area and won’t protect you from concentrated gas bursts if you trigger a tripwire
- At least two hematic grenades, plus a bola gun if you want to take down BTs quietly instead of sneaking past them to avoid alerting larger groups
You can pick up extra filters for free at the distribution center 2km west of the mine entrance, so don’t spend chiral crystals buying them before you leave. The outpost’s staff keeps a stockpile specifically for porters heading into the mine, and you can grab up to 5 filters for no cost as long as you have a porter grade of 30 or higher. If your grade is lower, you can trade a small pack of chiral crystals for the filters, but it’s easier to do a couple small delivery quests first to bump your grade up if you can.
The Safest Route Through the Mine’s Upper Tunnels
The biggest mistake most players make when they first visit the mine is walking straight through the main front entrance. That path leads directly into the highest toxicity zone in the whole mine, and there’s a permanent cluster of 4 BTs waiting just inside the door that will catch you off guard before your BB can even pick up their signal. I made this mistake my first two runs, and I barely made it 50m inside before I had to turn back both times.
The far better route is the hidden side vent entrance to the north of the main door, just off the dried riverbed that runs along the mine’s western edge. You’ll see faded blue chalk marks left by other porters leading up to a small rock ledge, and the vent is hidden behind a pile of rusted scrap metal that you can move with a single quick action. You don’t need any special tools to move the scrap, even if you’re carrying a full load of cargo.
If you follow this side route, you’ll cut 40% of the toxic exposure time off your trip, and skip the BT cluster entirely. The vent leads directly into the upper tunnels of the mine, where toxicity levels are 50% lower than the main entrance path, and there are far fewer tripwires to worry about. If you’re carrying heavy cargo, you’ll need a level 1 climbing anchor to get up the rock ledge leading to the vent, but if you’re traveling light you can scramble up without any extra gear. I usually bring a single climbing anchor with me just in case I’m hauling a large load, but I’ve gone up the ledge without one plenty of times when I’m only carrying small delivery packages.
How to Avoid Hidden Hazards and Retrieve Rare Cargo
Even if you take the safe side entrance, you still need to watch out for tripwires strung across the tunnel floors and ceilings. They’re almost invisible in the dim mine lighting, so you need to turn on your porter scanner every 10 steps to spot them. The scanner will highlight the tripwires in bright red, so you can either step over them or cut them with a small knife if you have one in your inventory. Cutting them is safer, because it prevents other porters from accidentally triggering them after you leave.
If you do trigger a tripwire by mistake, a burst of concentrated gas will be released immediately, which will eat through 20% of your suit liner in seconds and can alert any BTs within a 100m radius. If this happens, pull your oxygen mask on immediately even if your suit’s toxicity meter says levels are low, and move away from the area as fast as you can without dropping your cargo. Don’t stop to check your inventory or adjust your load until you’re at least 50m away from the burst site.
If you make it through the upper tunnels without triggering any tripwires, you’ll find a hidden cargo cache in a small side alcove 300m from the data core chamber. The cache has a rare chiral printer upgrade that lets you print higher level suit liners for 30% fewer chiral crystals, plus a stock of pre-apocalypse luxury goods that you can deliver to the nearby city for a massive porter grade boost. The cache is only accessible if you don’t trigger any tripwires on your way in, so take your time scanning instead of rushing through the tunnels. I missed this cache my first four runs, and it made a huge difference in my ability to craft gear for later game areas once I finally found it.
What to Do If You Encounter BTs Inside the Mine
Even if you take the safest possible route, you might still run into stray BTs near the data core chamber. The toxic gas in the deeper parts of the mine messes with your BB’s sensor range, so you might not get the usual vibration warning until a BT is only a few feet away from you. Don’t panic if this happens – BTs in the mine are far easier to deal with than the ones you’ll encounter on the surface.
First, don’t run. Running makes more noise and will draw the BTs straight to you, and you don’t want to risk triggering a tripwire while you’re sprinting away. Hold your breath, move slowly to the nearest rock or metal pile, and hide until the BTs move away. If you do get grabbed, use a hematic grenade immediately instead of wasting time trying to struggle free. The toxic gas will drain your health while you’re caught, so you don’t have extra time to fight them off manually.
BTs in the chemical mine are weaker than surface BTs, because the toxic gas limits their movement, so a single well-thrown hematic grenade will take out a whole group. If you’re playing with multiplayer enabled, you can leave signs warning other players of BT locations or hidden tripwires, and you’ll get likes for helping out that count towards your porter grade. I always leave signs near the vent entrance and the hidden cache, and I’ve gotten thousands of likes from other porters who found the tips useful. If you see signs left by other players, pay attention to them – they’re usually left to help you avoid mistakes that the original player made themselves.
At the end of the day, the death stranding 2 chemical mine isn’t nearly as intimidating as it looks once you know the right prep steps and route to take. I’ve run it 12 times now for various main and side quests, and I haven’t lost a single cargo shipment since I started using the tips I laid out in this guide. If you’re carrying very fragile cargo that you can’t afford to lose, you can always invite a fellow porter to join you for the run – two people can carry more spare filters and cover each other if BTs show up unexpectedly. Take your time through the mine, and you’ll walk away with rare rewards that make the trip well worth the effort.