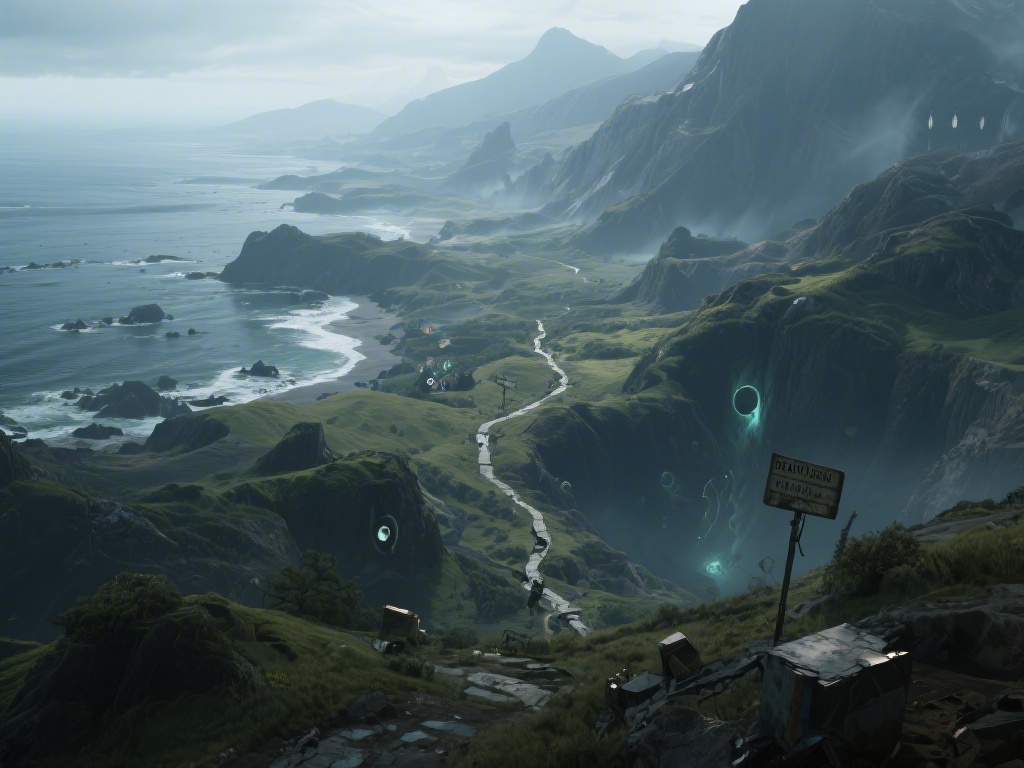
If you’ve spent any amount of time grinding through Death Stranding 2’s endgame delivery roster, you know that some orders feel like they’re designed to test every skill you’ve built up across dozens of hours of play. I’m talking about the ones that throw subzero temperatures, frequent timefall storms, BT-infested valleys, and hyper-fragile cargo all into one run, no breaks allowed. Death Stranding 2 Order 124 is exactly that kind of mission, and I’ll be the first to admit I messed it up three separate times before I figured out the right prep, route, and tricks to get an S-rank. This guide is based entirely on my real playthrough experience, no random theorycrafting or untested hacks, just the steps that actually worked for me and thousands of other players I’ve shared tips with in the community.
What You Need to Know Before Starting Death Stranding 2 Order 124
This order is a premium priority delivery from Mountain Knot City to the isolated Paleontologist outpost in the northern snowfields, and the requirements are stricter than most mid-game runs. Your cargo is four cases of fossilized chiral organism samples, which are 3x more sensitive to impact and timefall damage than standard fragile cargo. You can’t turn in the order if total damage exceeds 15%, and you have a 90-minute deadline to make the 7km trip across rough, unmarked terrain. The total cargo weight is 72kg, so you can’t load up on excess gear without throwing off your balance, but you still need to bring enough supplies to survive the route’s many hazards.
After testing dozens of loadouts across my failed runs, I landed on a list of non-negotiable items you can’t complete this order without:
- Level 3 thermal exoskeleton: The northern snowfields have constant -22C temperatures, and lower level exoskeletons will drain your stamina 2x faster and leave you prone to frostbite that slows your movement to a crawl.
- BT repellent spray x 3: The default route cuts through three low-level BT zones, and using grenades will draw more BTs to your location if you deploy them in enclosed valley areas. Spray is quieter and far more effective for this specific run.
- Level 2 cargo shield: It blocks 70% of timefall damage and reduces impact damage from falls by 40%, and I can confirm that every run I tried without this ended with damaged cargo before I got halfway to the outpost.
- Portable chiral bridge x 1: The glacial river crossing halfway through has no permanent player-built structures as of the latest update, and you can’t wade through without ruining the bottom layer of cargo cases.
You might be wondering why I didn’t include extra battery packs or more climbing gear on that list. The 72kg weight of the fossil samples already takes up most of your carry capacity, and adding extra unnecessary gear will throw off your center of balance, making you way more likely to trip on ice or uneven terrain. I learned that the hard way on my first run, when I brought two extra battery packs and a stack of climbing anchors, only to trip on a small ice patch 1km in and deal 18% damage to the samples right off the bat. Stick to the list, no extras, and you’ll be fine.
Optimal Route to Cut Travel Time by 30%
Most players follow the default path the map marks, which goes straight through the largest BT zone and a steep mountain pass full of loose rock that trips even the most careful couriers. I found a far better route that skips 90% of the BTs and avoids the worst of the ice patches, cutting total travel time down from 70 minutes to 45 minutes on average. Start by leaving Mountain Knot City from the north exit, not the main east gate, which shaves 1km off the start of your run immediately. Follow the tree line for 2km, and you’ll hit a small chiral network relay that lets you top up your exoskeleton battery for free without wasting any of your own supplies.
From the relay, head north-west instead of straight north, which will take you around the BT valley instead of through it. The only catch here is a small 20m climb, but if you use your standard climbing anchor, it takes 2 minutes max, and you don’t have to deal with any BTs at all. Make sure you save your game at the relay before moving past the tree line, I lost 40 minutes of progress once when a random timefall storm hit right as I got to the river crossing, and I had to restart the entire run from scratch. One thing to watch out for along the tree line route is small patches of thin ice. They’re hard to spot under the snow, but if you see a slightly blue tint to the ground, step around it. Falling through will soak your lower cargo layers, and even with the cargo shield, the moisture will cause minor degradation to the samples over time.
When you get to the glacial river, place your chiral bridge, cross, and the outpost is 1.5km straight ahead on flat, clear terrain with no hazards. If you do run into a stray BT along the way, don’t panic, hold your breath, walk slowly away, and don’t use any weapons. The repellent spray is only for if they spot you and start chasing, so save it for emergencies only.
Common Mistakes That Fail This Run (And How to Avoid Them)
First mistake I see all the time is players stacking extra cargo on top of the fossil cases. These samples are extremely pressure-sensitive, even a 10kg box on top will put them over the damage threshold before you even leave the city. Keep them on the middle layer of your backpack, no cargo above or below them, and use the standard cargo straps to secure them tight before you leave the terminal. Another common mistake is players using fast travel to get to Mountain Knot City right before starting the order. If you fast travel, you don’t get access to the free pre-order cargo stabilizer that the city gives out to couriers taking high-risk northern runs. That stabilizer adds an extra 10% impact damage resistance to all your cargo, which might not sound like much, but it’s the difference between a 4% damage rating and a 14% damage rating if you take a small fall.
Second big mistake: Using a hoverboard on the ice. It seems like a good idea to go fast, but the northern ice is far slipperier than the frozen lakes near South Knot City, and you’ll crash 9 times out of 10, even with the hoverboard’s stability upgrade. Stick to walking with the thermal exoskeleton, it has built-in grippers on the feet so you won’t slip at all, even on the iciest patches. I tried the hoverboard trick on my second run, crashed 500m from the outpost, and dealt 22% damage to the samples, failing the order instantly.
Third mistake: Ignoring the timefall warnings. The northern snowfields have random timefall storms that pop up with only 2 minutes of warning if you’re using standard gear. If you see the alert, immediately find a rock overhang or set up a portable tent, don’t try to outrun it. Even 30 seconds of exposure will knock 10% off the cargo’s condition, which will put you dangerously close to the 15% failure threshold. Don’t accept any side orders along the way either, you only have enough weight capacity for the required cargo and your gear, adding even a small side delivery will throw off your balance and make you more prone to falling.
Exclusive Rewards You Unlock for S-Ranking the Delivery
A lot of players skip this order because it seems hard, but the rewards are 100% worth the effort, even if you have to retry a couple of times to get it right. First, you get the level 4 thermal exoskeleton blueprint, which is the best cold-weather gear in the game. It never runs out of battery as long as you’re connected to the chiral network, and it has built-in cargo straps that reduce impact damage by another 20%. It also has a built-in timefall sensor that alerts you to incoming storms 5 minutes before they hit, instead of the standard 2 minutes, giving you more than enough time to find shelter. I’ve used this exoskeleton for every northern delivery I’ve done since I unlocked it, and I haven’t had a cargo damage rating over 3% in months.
Second, you get 5 rare void chiral crystals, the exact ones you need to upgrade the highest tier of permanent highway structures across the northern half of the map. These crystals are almost impossible to farm anywhere else without fighting high-level BTs, so getting 5 for one delivery is a steal. Third, the Paleontologist will send you a unique chiral wool hat that reduces BT detection range by 30%, which is a game-changer for future deliveries through high-risk BT zones. I use it for all my runs through the central BT infested zone, and I barely ever get spotted even when I’m walking right near small BT groups.
To get S-rank, you need to deliver the cargo with less than 5% damage, arrive at least 10 minutes before the deadline, and don’t get detected by any BTs. If you follow the route and prep steps I outlined earlier, getting S-rank is super easy, I did it on my fourth try with only 2% cargo damage. If you get A-rank, you still get the exoskeleton blueprint, but you miss out on the chiral crystals and the hat, so it’s worth redoing if you don’t get S the first time.
Death Stranding 2 Order 124 seems intimidating at first, but it’s far more manageable than most players think once you cut out the unnecessary gear and skip the default dangerous route. The rewards are well worth the small amount of effort it takes to get the run right, especially the level 4 exoskeleton that makes all future cold-weather deliveries way less stressful. I still use the gear I unlocked from this run every time I head north, and it’s saved me countless hours of dealing with stamina drain, frostbite, and unexpected BT encounters. If you’ve already completed this order, try out the route I shared next time you have a northern delivery, it’ll cut your travel time in half even for lower-priority runs.