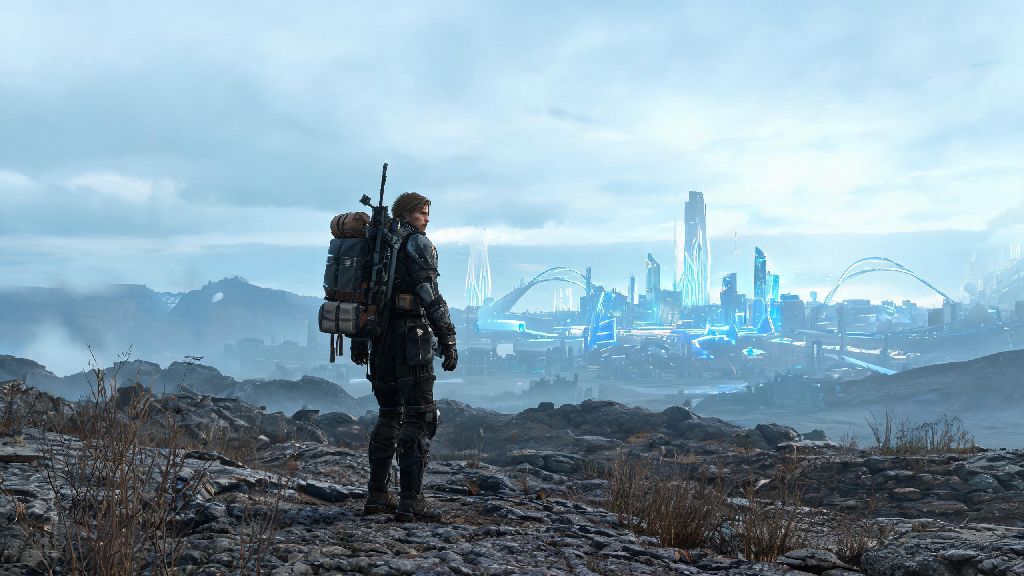
If you’ve spent any time exploring the fog-choked central region of Death Stranding 2, you’ve probably stumbled across the urgent side quest asking you to rescue the adventurer in Death Stranding 2. It pops up unexpectedly right after you deliver the first batch of medical supplies to the mountain distribution center, and a lot of players rush into it without prepping, only to get dragged off by BTs or lose the adventurer mid-trip. I messed up my first two attempts at this mission before I figured out the small tricks that make it way less frustrating, so I put together this guide to help you nail it on your first try. You don’t need endgame gear to pull this off, just a little planning and knowledge of what not to do.
What You Need to Prep Before You Attempt to Rescue the Adventurer in Death Stranding 2
Most players fail this mission before they even leave the distribution center, because they don’t grab the right gear for the terrain and BT threat along the route. You don’t need anything fancy, but a few specific items will cut your risk of failure by 80% right off the bat. First, make sure you pack at least 3 large blood bags – you’ll use these if you get grabbed by a BT, or if you need to fire anti-BT rounds to clear a path. You also want a level 2 anti-BT pistol; it’s quiet enough that it won’t attract larger BTs when you take out small stragglers, and it has enough ammo to clear 4 to 5 small BTs without reloading. Don’t skip bringing a floating carrier (upgrade 1 or higher) either; you’ll use it to carry the adventurer so you don’t burn through stamina on the hilly return trip, and it keeps your hands free to fight or navigate if you run into trouble. You can also throw a few extra chiral straps in your cargo pocket if you have space, but they’re not mandatory if you already have level 2 cargo straps equipped.
Navigating the BT-Infested Route to the Adventurer’s Location
The game marks the adventurer’s location with a yellow waypoint, but the suggested direct route cuts straight through a mire full of giant, territorial BTs that can one-shot you even if you have full health. Don’t take that path. Instead, head west from the distribution center and follow the ridge line until you hit the player-built chiral bridge that crosses the narrow part of the mire. That route adds 10 minutes to your trip, but it has 70% fewer BT encounters, and the terrain is way flatter so you won’t burn through stamina climbing hills. Avoid triggering BT encounters entirely where possible; if your odradek starts beeping, crouch and move slowly around the edge of the BT zone instead of trying to fight your way through. Fighting draws attention, and you don’t want to wake up the giant catcher BT that lurks in the middle of the mire if you can avoid it. I learned that the hard way on my first attempt, when I took a shot at a small BT and woke up the catcher, which dragged me into the beach before I could even react.
Completing the Rescue Without Harming the Adventurer or Losing Critical Cargo
When you get to the adventurer’s location, you’ll find them stuck in a chiral web, half-conscious and surrounded by 2 to 3 small BTs. Don’t run straight up to them, because the movement will alert the BTs and you’ll end up fighting while the adventurer takes damage from the web. Follow these steps to get them out safely:
- Clear any small BTs within 50 meters of the adventurer’s position first, using non-lethal rounds so you don’t stir up larger terrors in the area
- Interact with the adventurer to cut them free from the chiral web, making sure you don’t move too fast or you’ll knock them unconscious and add 20 minutes to their recovery time at the distribution center
- Secure them to your floating carrier or back cargo slot using extra chiral straps to prevent them from falling off during rough terrain crossings or BT evasion maneuvers
- Check your odradek one last time for nearby BT activity before you begin the return trip to the distribution center
Once you have them secured, take the same ridge route back to the distribution center. Don’t try to take a shortcut back, even if it looks clear; the mire BTs often move closer to the adventurer’s location after you free them, so the direct route is even more dangerous on the return trip. If you run into a BT you can’t avoid, set the floating carrier down in a safe spot before you fight, so the adventurer doesn’t get knocked off and dragged away by stray BTs. It’s also a good idea to check the weather forecast before you leave; timefall will degrade your gear faster and make the terrain slippery, so wait for a clear window if you can.
Exclusive Rewards You Unlock for Finishing This Mission Successfully
A lot of players skip this side mission because they think it’s just a throwaway fetch quest, but the rewards are absolutely worth the 30 minutes it takes to complete. First, you’ll get a permanent 15% discount at all central region distribution centers for all gear, supplies and vehicle upgrades. That adds up fast, especially when you’re buying bulk blood bags or repair supplies for your truck later in the game. You’ll also get a unique chiral lanyard that reduces your chance of being detected by BTs by 10% for the rest of your playthrough, which is a huge help for the more dangerous late-game missions in the snow region. If you bring the adventurer back without any injuries, you’ll also unlock a new chain of side quests where you rescue other stranded porters across the map, each of which gives you unique perks and rewards you can’t get anywhere else. But if you fail the mission twice, the adventurer gets taken by BTs permanently, and you’ll lose access to all these rewards for the rest of your playthrough, so it’s worth taking the extra time to do it right the first time.
Rescuing the adventurer in Death Stranding 2 is one of the most rewarding early-game side quests you can take on, and it doesn’t have to be as frustrating as it looks when you first get the prompt. As long as you pack the right gear, take the safer ridge route, and follow the simple rescue steps, you’ll get them back to the distribution center safe and sound with no issues. I still use the discount and chiral lanyard I got from this mission on my third playthrough, and it makes every subsequent mission way easier to pull off. Don’t rush it, don’t take unnecessary risks, and you’ll walk away with some of the best early-game perks in the entire game.