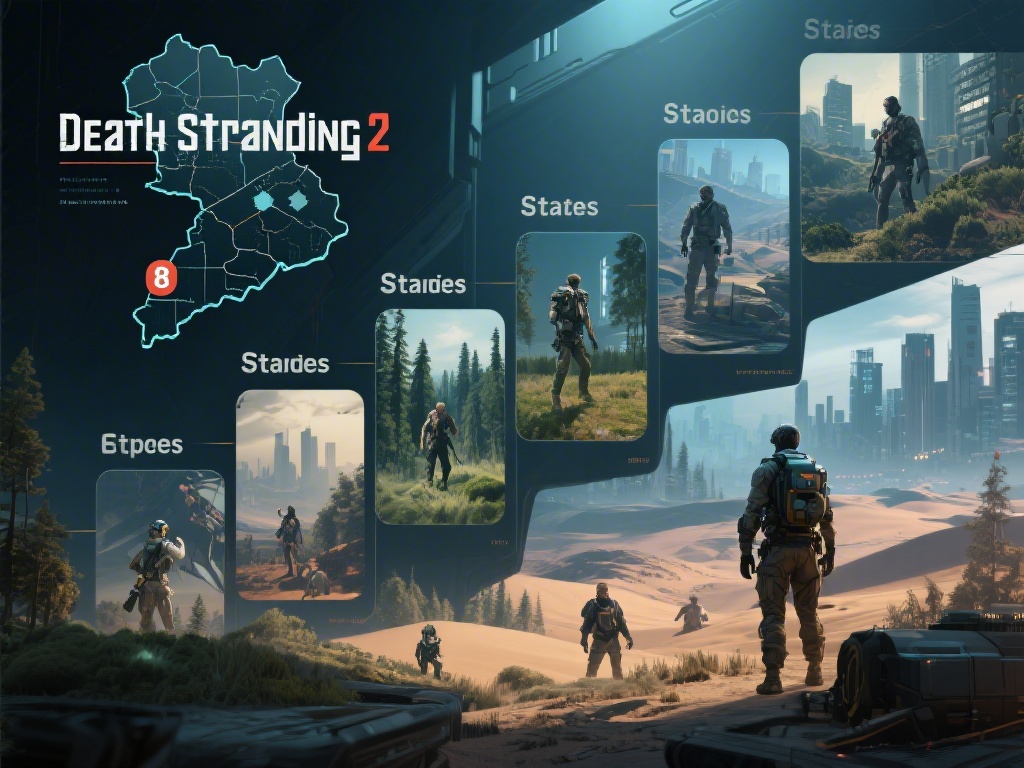
I remember actively avoiding every fight in the first Death Stranding because the combat felt clunky, unforgiving, and totally disconnected from the core delivery-focused gameplay. When I got early access to the sequel last month, I was shocked to find myself actively seeking out small skirmishes to test the new, vastly improved systems. If you’re worried about how fights will fit into your playthrough, or you’ve already struggled with a few tough BT encounters, this breakdown of Death Stranding 2 combat will give you all the tools you need to handle any scenario without ditching your cargo.
Core Death Stranding 2 Combat Systems You Need to Learn First
The sequel’s combat is built on three interconnected pillars, and ignoring any of them will leave you struggling even against basic raider groups. First is stamina management, which works very differently from the first game. Stamina doesn’t just affect your ability to run and climb anymore -- every punch, dodge, block, and parry eats into your stamina bar, and running out mid-fight will leave you frozen for 2 full seconds while you catch your breath. That’s more than enough time for a raider to knock you down or a BT to grab you.
Second is gear synergy, which ties directly into your cargo loadout. You can’t carry a full stack of rare delivery materials, three heavy weapons, and 10 hematic grenades without over encumbering yourself, and over encumbrance cuts your movement speed and dodge distance by 40%. Gear loadouts are tied directly to combat performance, so you’ll need to plan ahead if you know you’re heading into a high-risk area. You can even store extra weapons and supplies in shared player lockers near dangerous zones so you don’t have to carry them across the entire map.
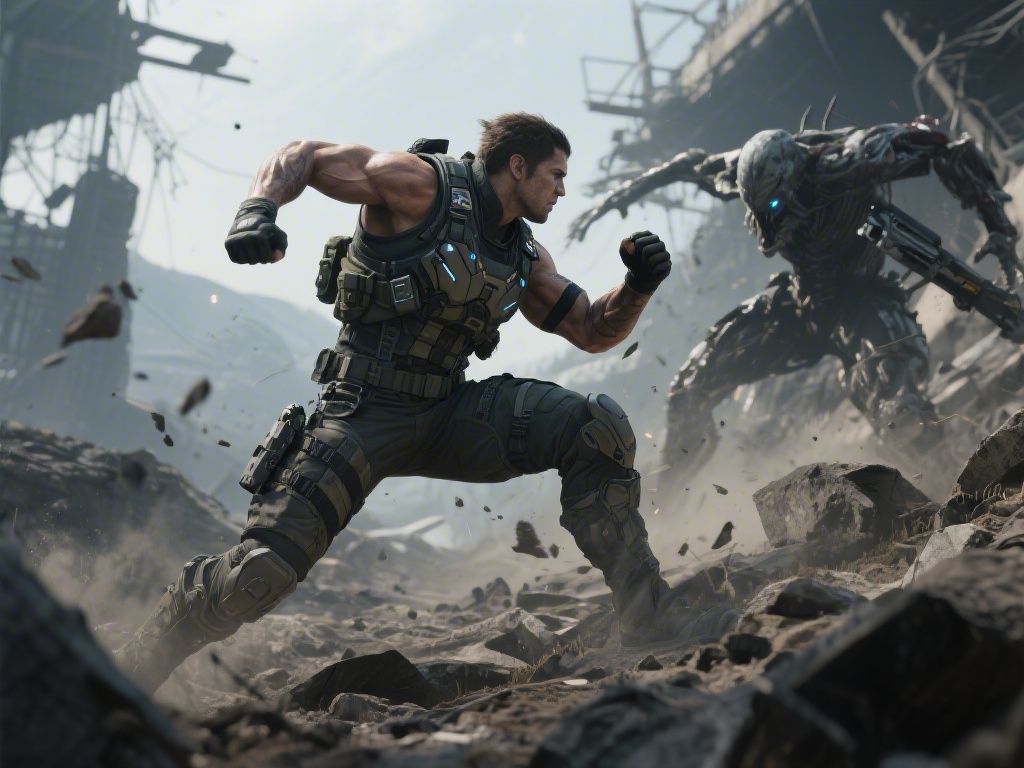
Third is the new parry system, which is far more accessible than the frame-perfect parries you find in most action games. You just need to hit the block button 0.2 to 0.5 seconds before an attack lands, and a successful parry will stun the attacker for 1.5 seconds, giving you time to counterattack, run away, or grab their weapon. It works on both human enemies and small BTs, so it’s worth practicing on low-level raider groups before you take on tougher fights.
Common Enemy Types and Their Weaknesses
Not all enemies work the same way, and using the wrong tactic against a specific type will waste your resources and put your cargo at risk. I’ve tested every enemy type extensively over 30 hours of playtime, and these are the most reliable weaknesses to exploit:
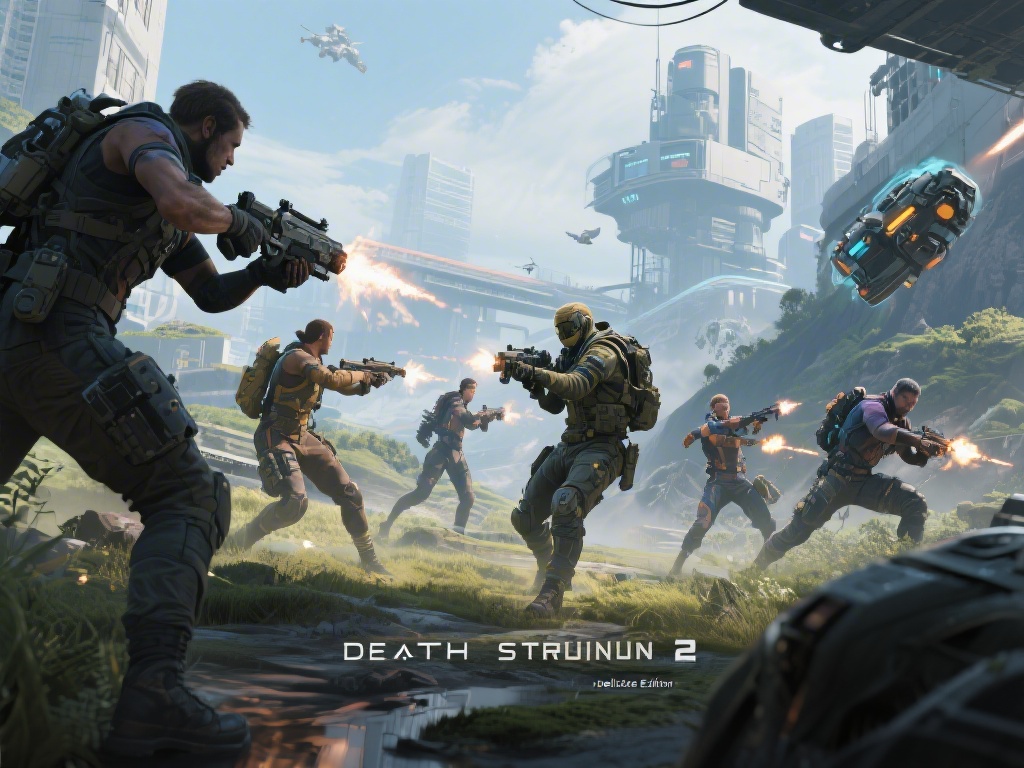
- Raider grunts: Weak to non-lethal shock weapons, and you can disarm them entirely if you land a perfect parry followed by a quick grab action. They travel in groups of 3 to 5, so taking out the group’s leader first (the one carrying a rifle) will make the rest of them far easier to handle.
- Standard BTs: Weak to hematic grenades shot directly at their glowing core, but you can also sneak past them entirely if you turn off all your electronic gear and hold your breath when they get within 10 feet of you. They can’t see stationary targets that aren’t making noise, so you don’t always have to fight.
- Giant roaming BTs: Their only weak spot is the glowing appendage on their upper back, so you’ll need to use zip lines, cliff edges, or other players’ watchtowers to get into high ground position to attack. Their front-facing attacks can one-shot you if you’re not blocking, so never take them on head-on without a plan.
You don’t have to fight every enemy you encounter, and running away or sneaking past is almost always the better choice if you’re carrying high-value, fragile cargo. Even if you win a fight, you’ll likely take some damage to your packages, which can set back delivery timelines and reduce the connection points you earn for completing the order.
Beginner Combat Mistakes to Avoid
I made almost all of these mistakes in my first 10 hours of playtime, so you don’t have to. The most common error new players make is spamming attacks to try to end fights fast. Spamming light attacks will drain your entire stamina bar in 3 hits, and you’ll be left defenseless when the next enemy attacks. It’s far better to take 1 or 2 slow, well-timed swings, then dodge back to reset and let your stamina refill.
Never go into a combat zone with a full delivery load. If you get knocked down, every piece of cargo you’re carrying takes 10 to 20% damage, and fragile items can break entirely if you fall from a height during a fight. If you know a delivery route goes through a raider camp or BT-infested area, drop your non-essential cargo at a nearby player post first, clear the enemies, then come back to pick up your packages. It adds 5 minutes to your run, but it saves you from having to restart an entire delivery.
Another big mistake is using lethal weapons on human enemies. If you kill a raider, their body will turn into a BT in 20 minutes of in-game time, which will spawn a whole new high-risk zone in the area. You can dispose of the body by taking it to a cremation facility, but that’s a huge detour that takes time away from your core deliveries. Non-lethal weapons are almost always the better choice for human encounters, since knocked-out raiders won’t respawn for 2 full in-game days, and you don’t have to deal with the BT aftermath.
Don’t forget to use the environment to your advantage either. You can throw rocks to distract raiders and draw them away from your path, use rain shelters to hide from BTs during timefall, and even use other players’ deployed zip lines to escape tough fights entirely if you get overwhelmed.
Advanced Combat Strategies for Veteran Players
If you already have the basics down and want to make fights even faster and more efficient, there are a few hidden mechanics the game doesn’t explain directly. First is combo chaining: a perfect parry followed by a light attack, then a heavy attack, then a quick throw of a shock grenade will stun a full group of 4 raiders for 3 full seconds, which is enough time to tie all of them up without taking any damage. This combo uses barely any stamina and only one grenade, so it’s far more efficient than fighting each raider individually.
You can sync your attacks with other players in co-op to take down giant BTs 2x faster. If one player uses a lure grenade to draw the BT’s attention to the front, the other player can sneak behind it and hit the weak spot on its back with a heavy rocket or multiple hematic grenades, cutting the fight time from 10 minutes to less than 3. You’ll also earn extra connection points for fighting alongside other players, which you can use to unlock better gear and construction plans.
You should also set up custom loadout shortcuts as soon as you unlock the third inventory slot. You can save three separate loadouts: one for standard delivery runs with minimal combat gear, one for light combat with a shock baton and a few hematic grenades, and one for heavy combat with rocket launchers and extra healing items. You can switch between these loadouts in 2 seconds with a single button press, so you don’t have to rummage through your inventory mid-fight to find the right weapon.
Another trick is to use the new multi-strand tool to tie up multiple raiders at once. If you stun a group of 3 or 4 raiders with a shock grenade, you can fire the multi-strand tool at the group to tie all of them up at the same time, instead of walking around and tying each one individually. It saves a ton of time, and you don’t have to waste extra ammo on enemies that are already stunned.
At the end of the day, Death Stranding 2 combat is designed to be flexible, so you don’t have to be a pro action game player to get through the story. If you hate fighting, you can invest points in stealth skills and sneak past almost every encounter in the game. If you enjoy fights, you can unlock heavier weapons and take on the most dangerous giant BTs for rare rewards. Play around with the systems, test out different strategies, and you’ll find a playstyle that works for you without sacrificing the core delivery and connection experience that makes the series unique.